Here’s something I’ve been DOING / have done. Building a polytunnel out of recycled / scrap trampolines. I promised myself I would recover some things I’d previously shared on Twitter and post them here.
It’s in the space of DOING things which helps me make sense of the world (explained here). I also think this is something worth keeping a record of (even if it’s only for my own nostalgic reasons), but also something worth sharing.
The nudge to get moving on posting this came from walking past a developing allotment where they are putting up an expensive looking polytunnel.
Without offering unsolicited advice, here’s what I did (on a budget). The photo story of spring 2021…
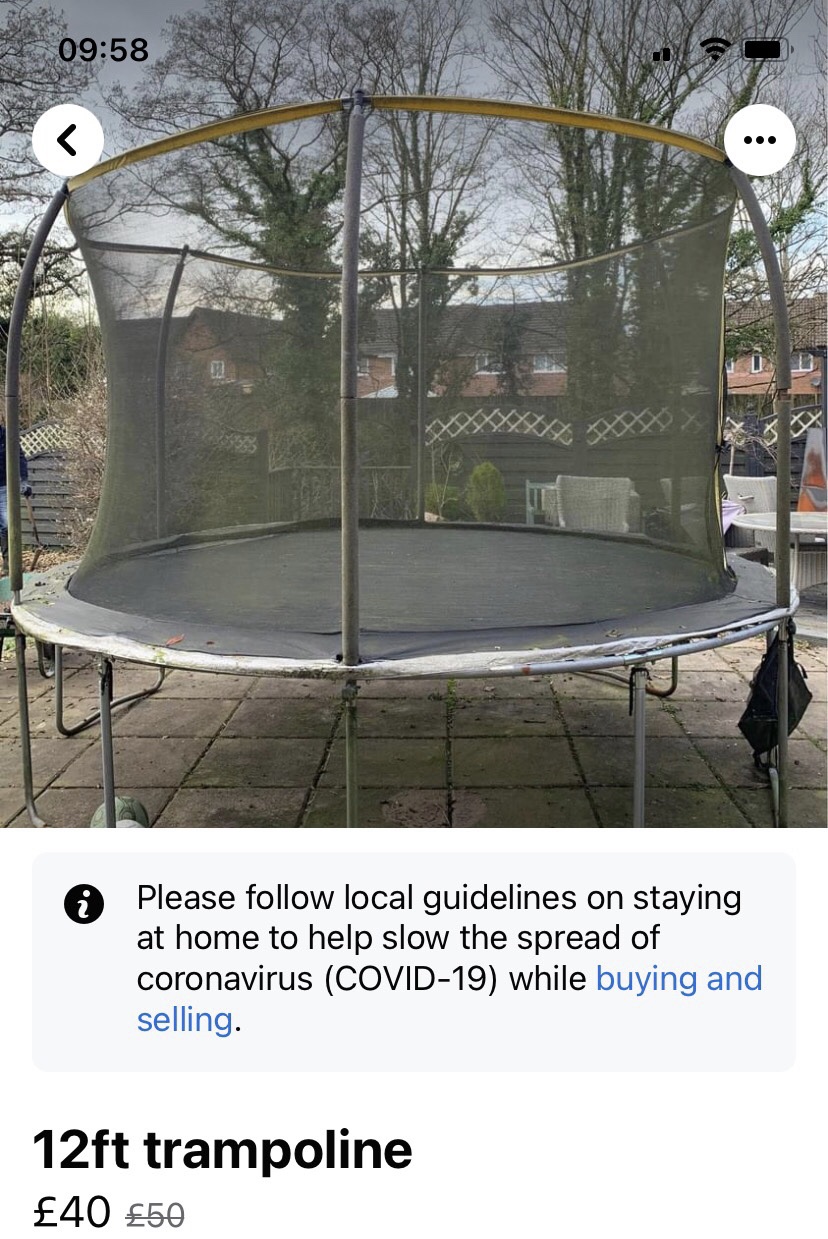
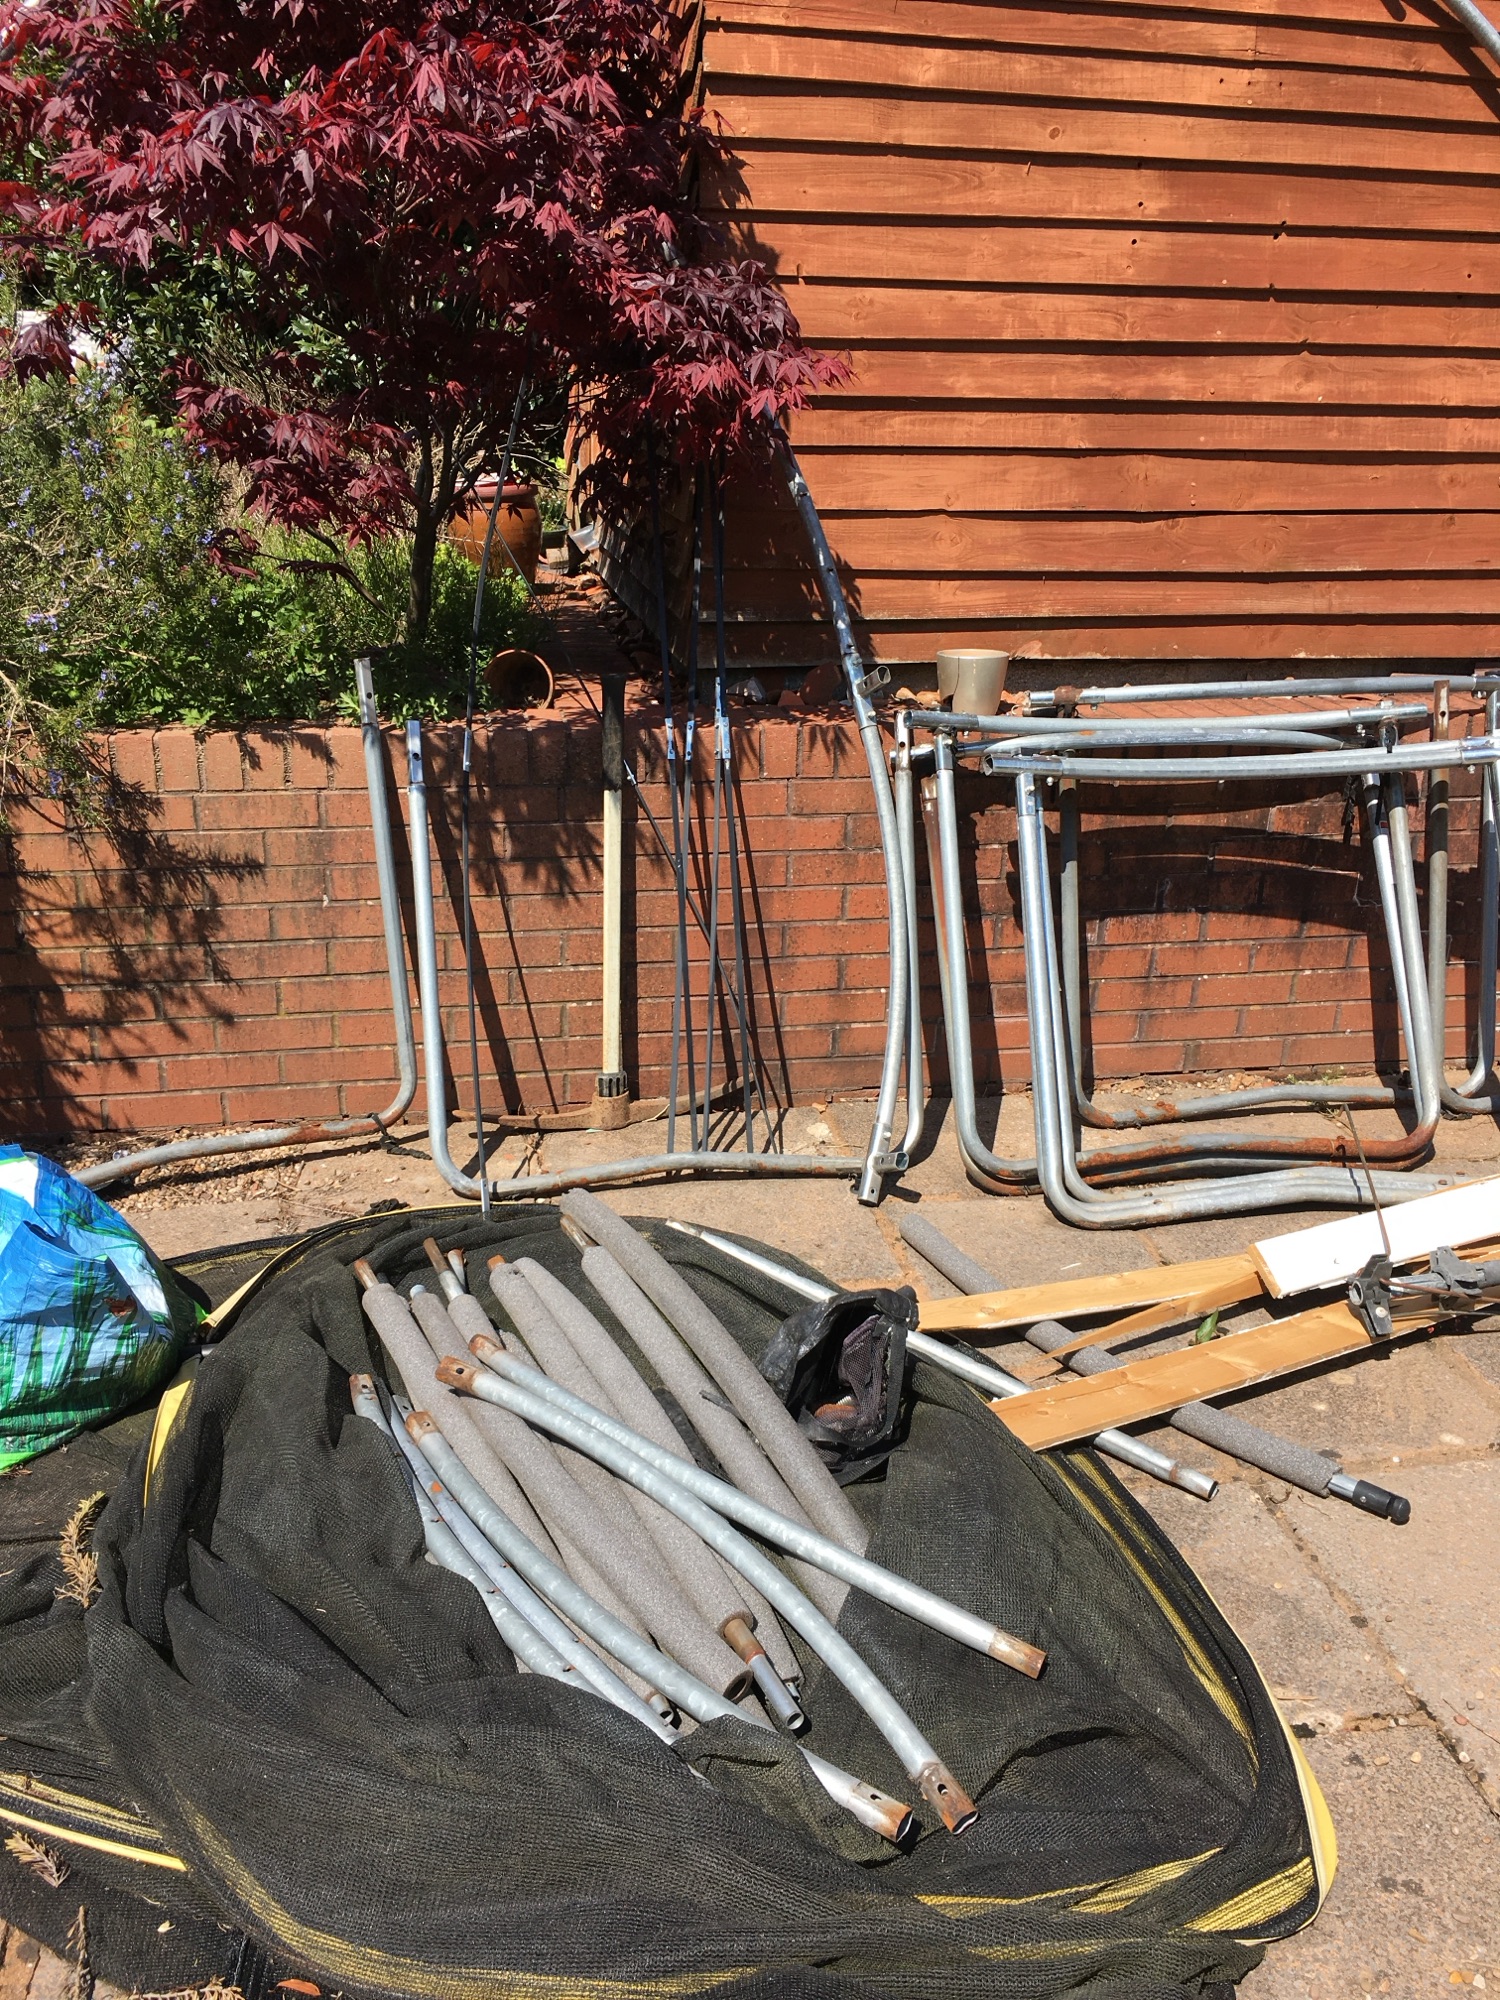
I acquired three 12ft/3.6m Trampolines.
The good news is that they all appeared to be pretty much the same construction, despite differences in age and brand. Probably all made in the same factory somewhere.
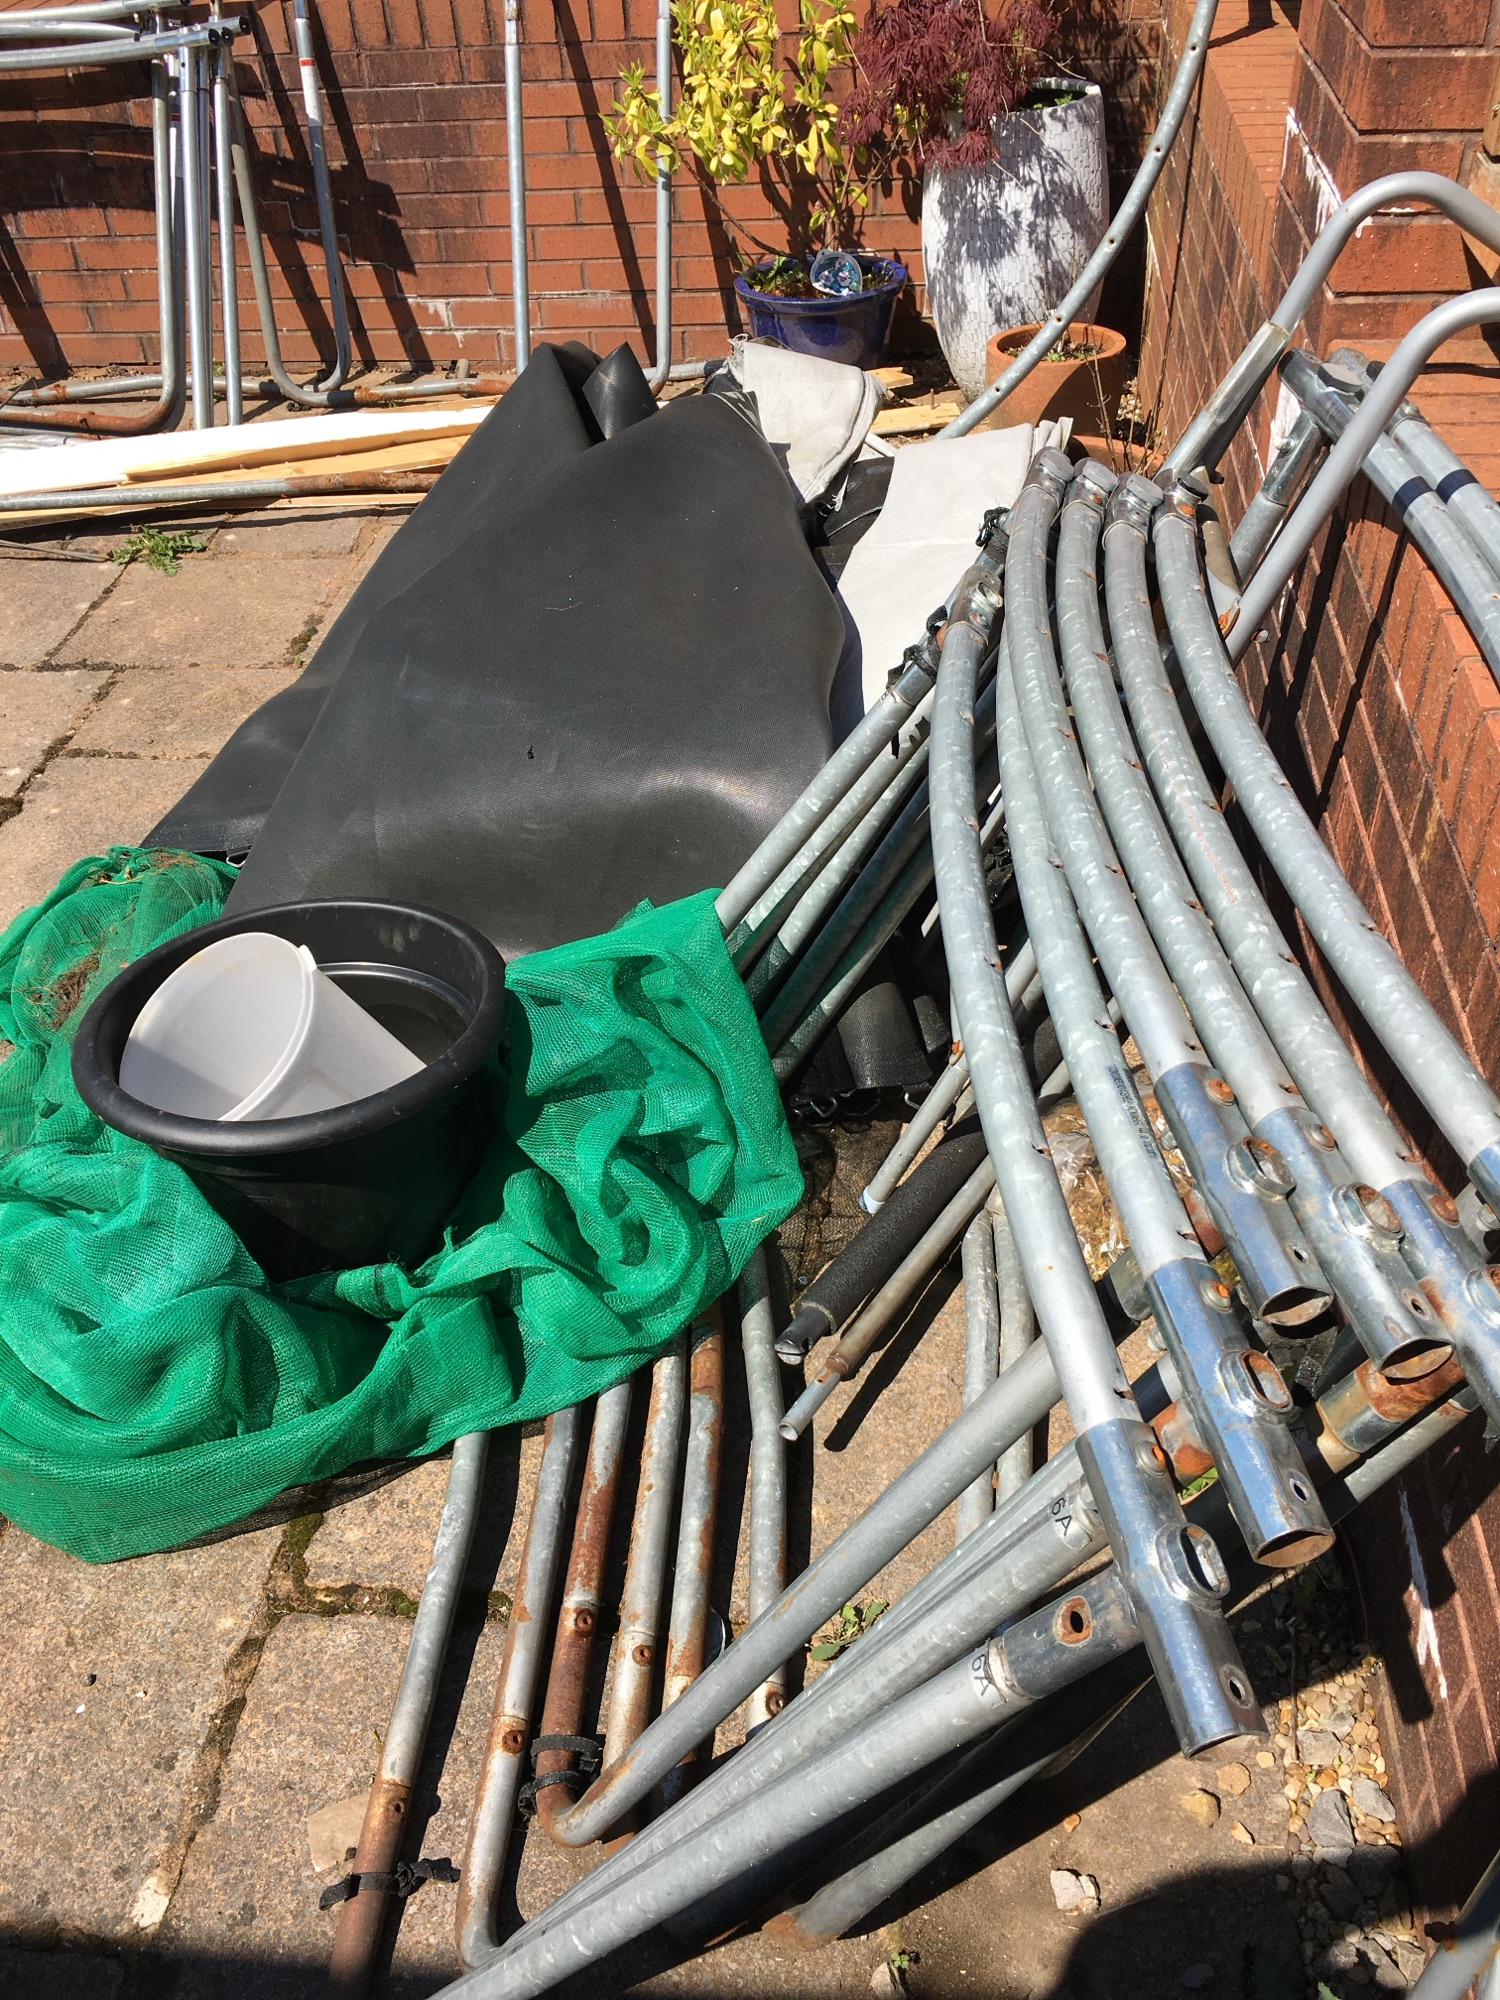
Top Tip. When you collect them take a few spanners, a lot of WD40 and a hammer. It helps ‘persuading’ rusty joints to separate.
Also, take bags for the bits and pieces you’ll need (nuts, bolts, washers). Also for the stuff you have to take away as part of the deal -literally hundreds of springs, the fabric from the trampoline bed and netting. Its the metal tubes and connectors you are after.
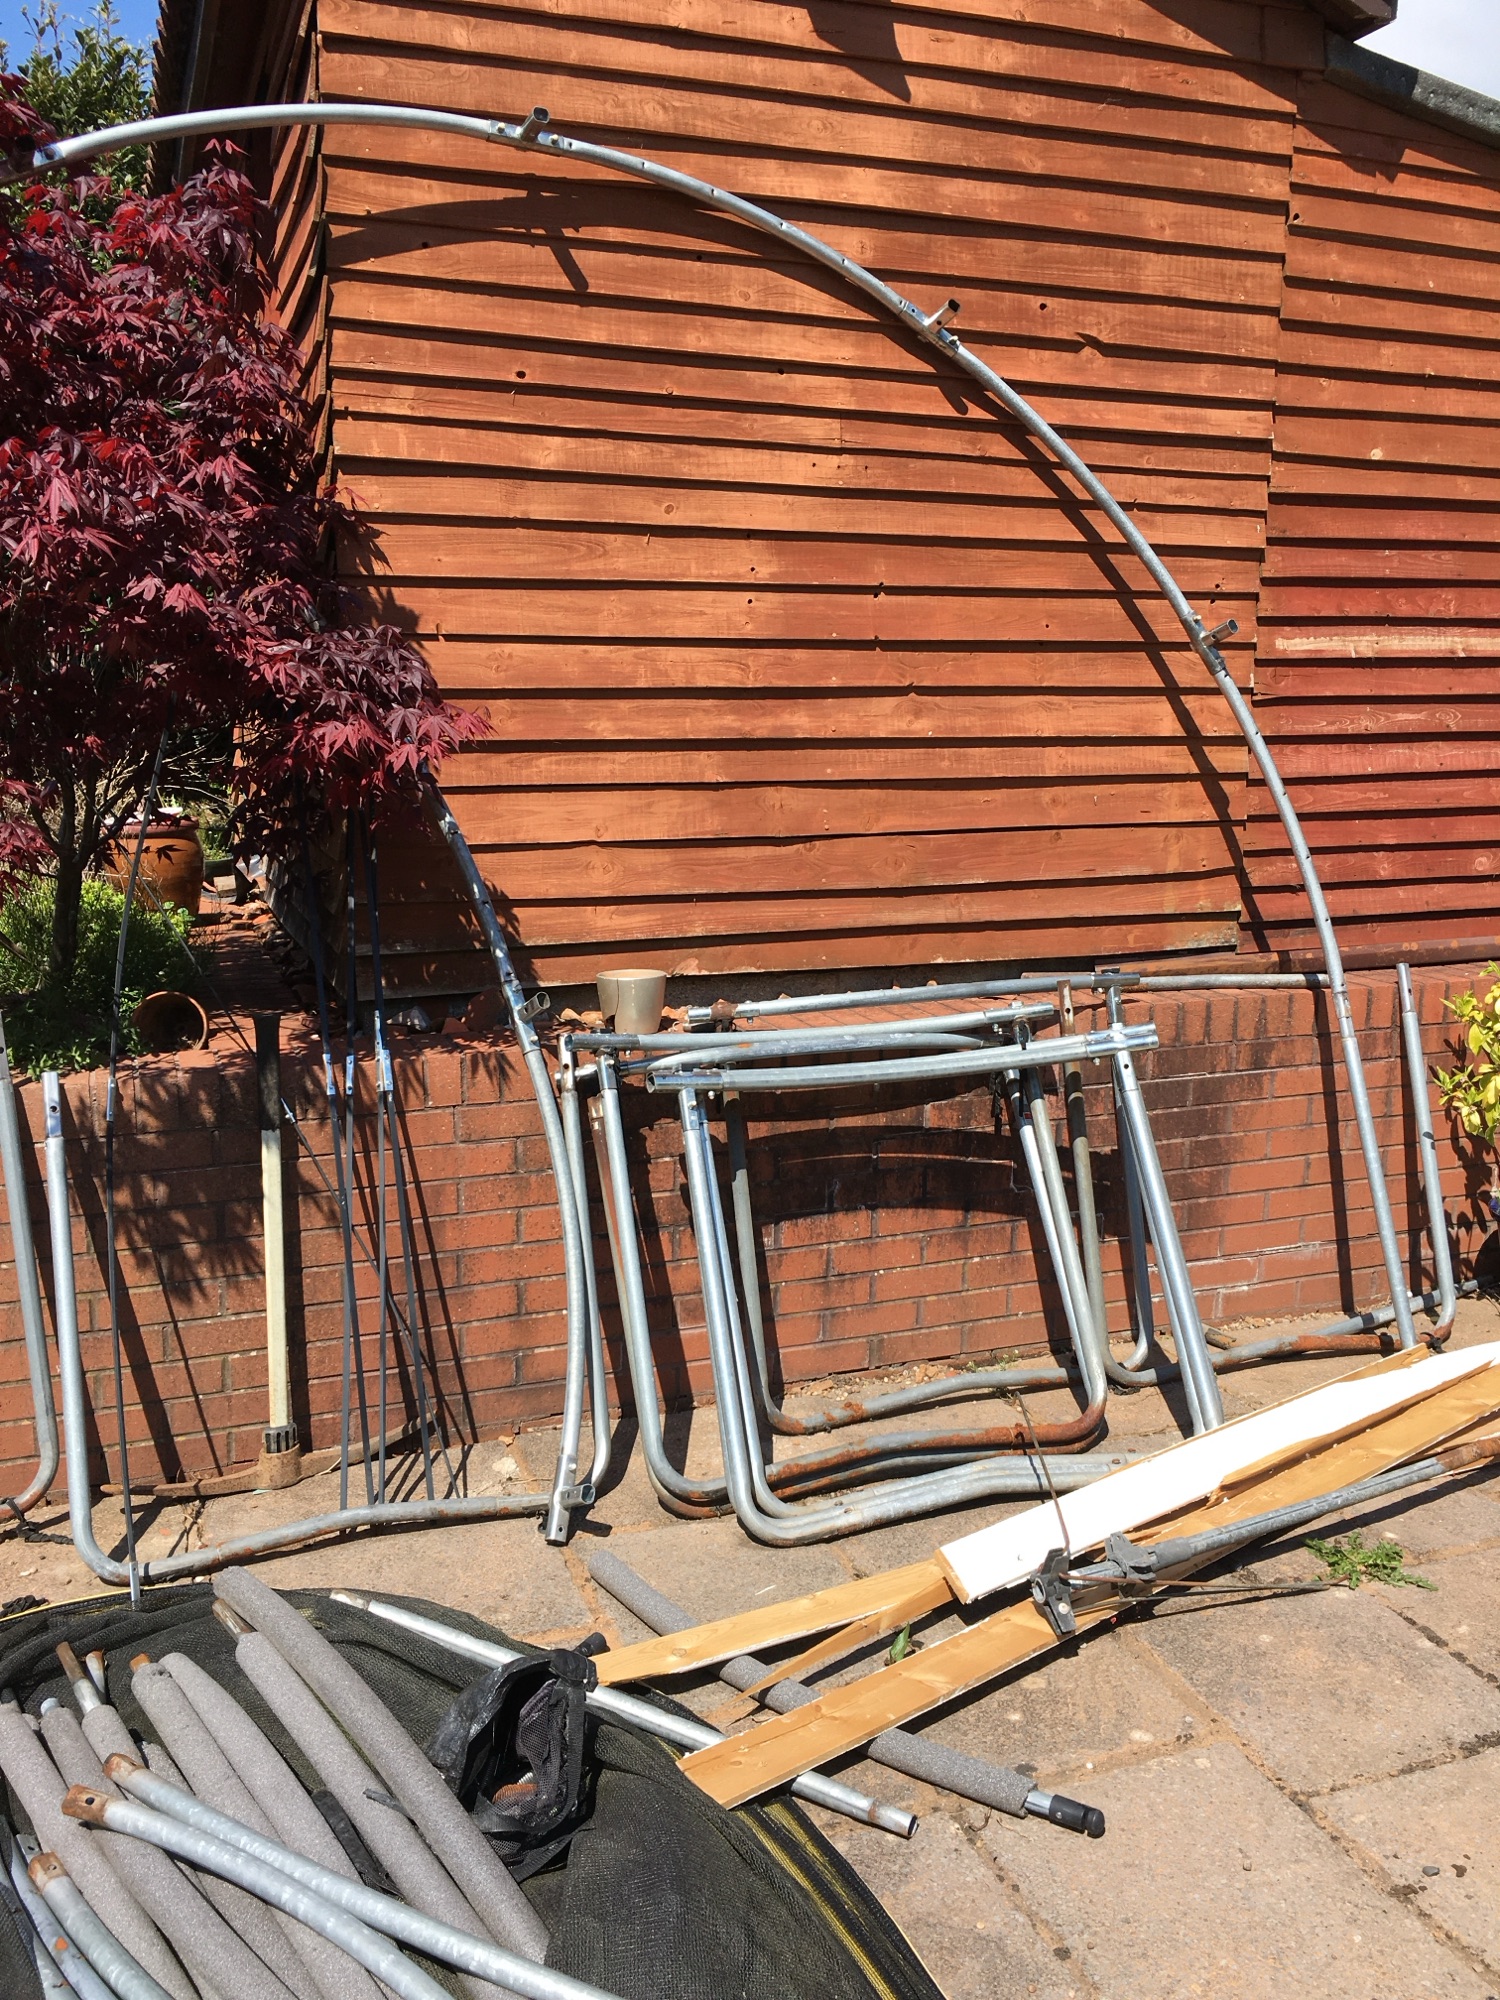
I must admit to my excitement getting the better of me. Putting up a 12ft/3.6m diameter arch, supported on 3ft/1m legs didn’t serve any real purpose. Then I had to take it down and carry it to the build site.
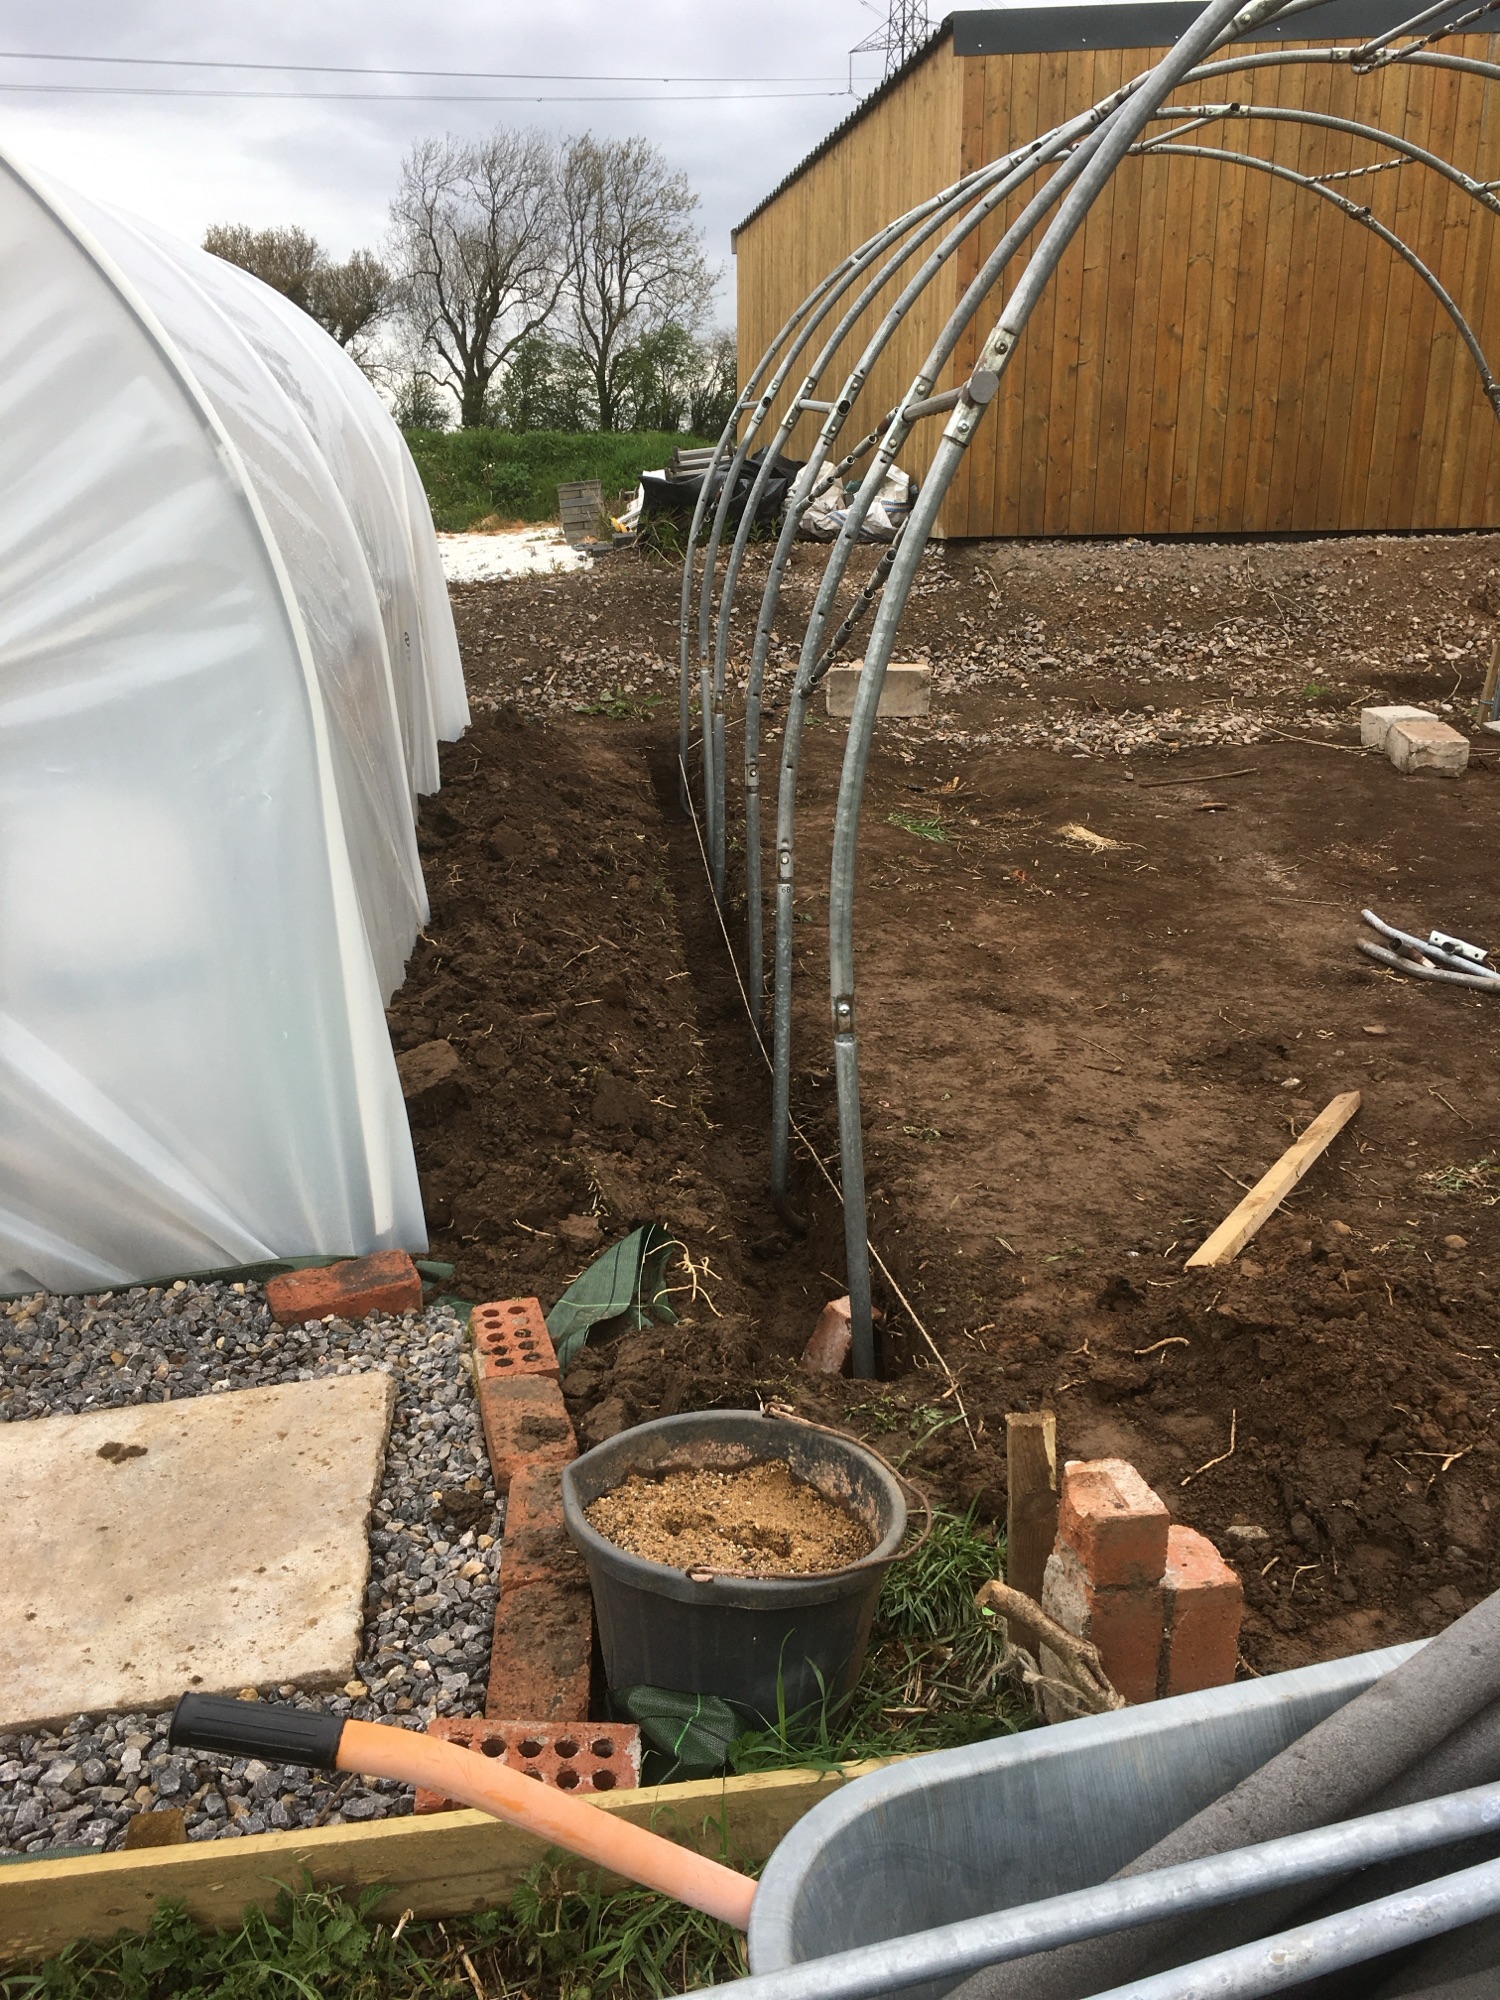
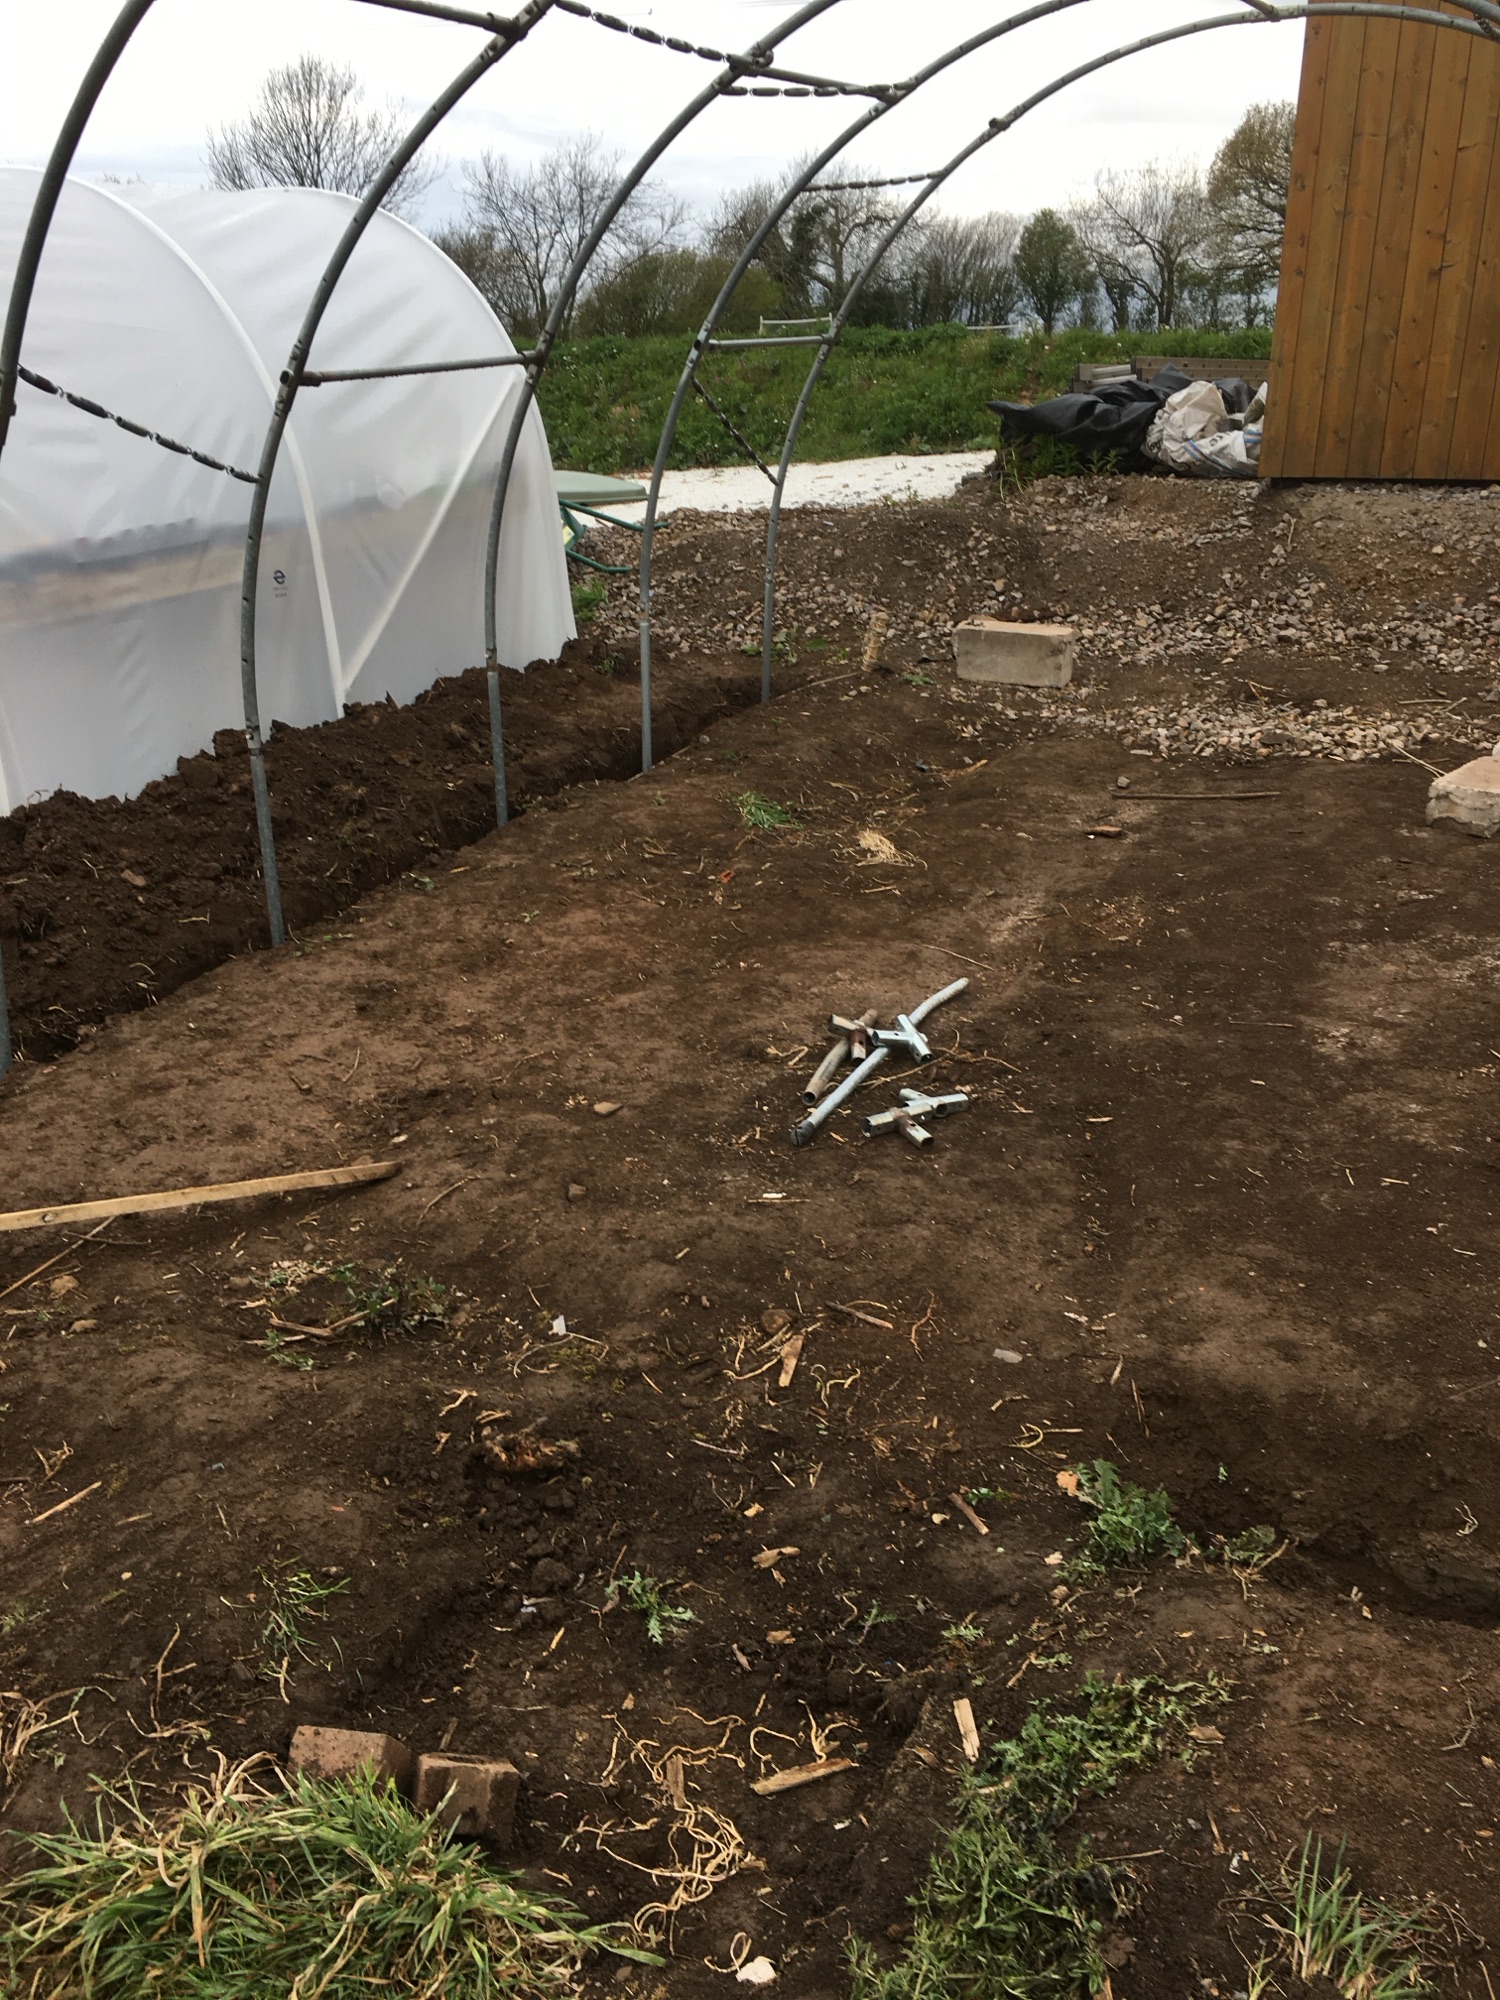
The Build. Step 1. Dig two parallel trenches. The trenches were approximately 30cm wide and 40cm deep. Their purpose is to bury the polythene covering, so that the structure stays put. This is a position that is exposed to the wind, so I wanted to take precautions (some people just fix the polythene to a wooden base board).
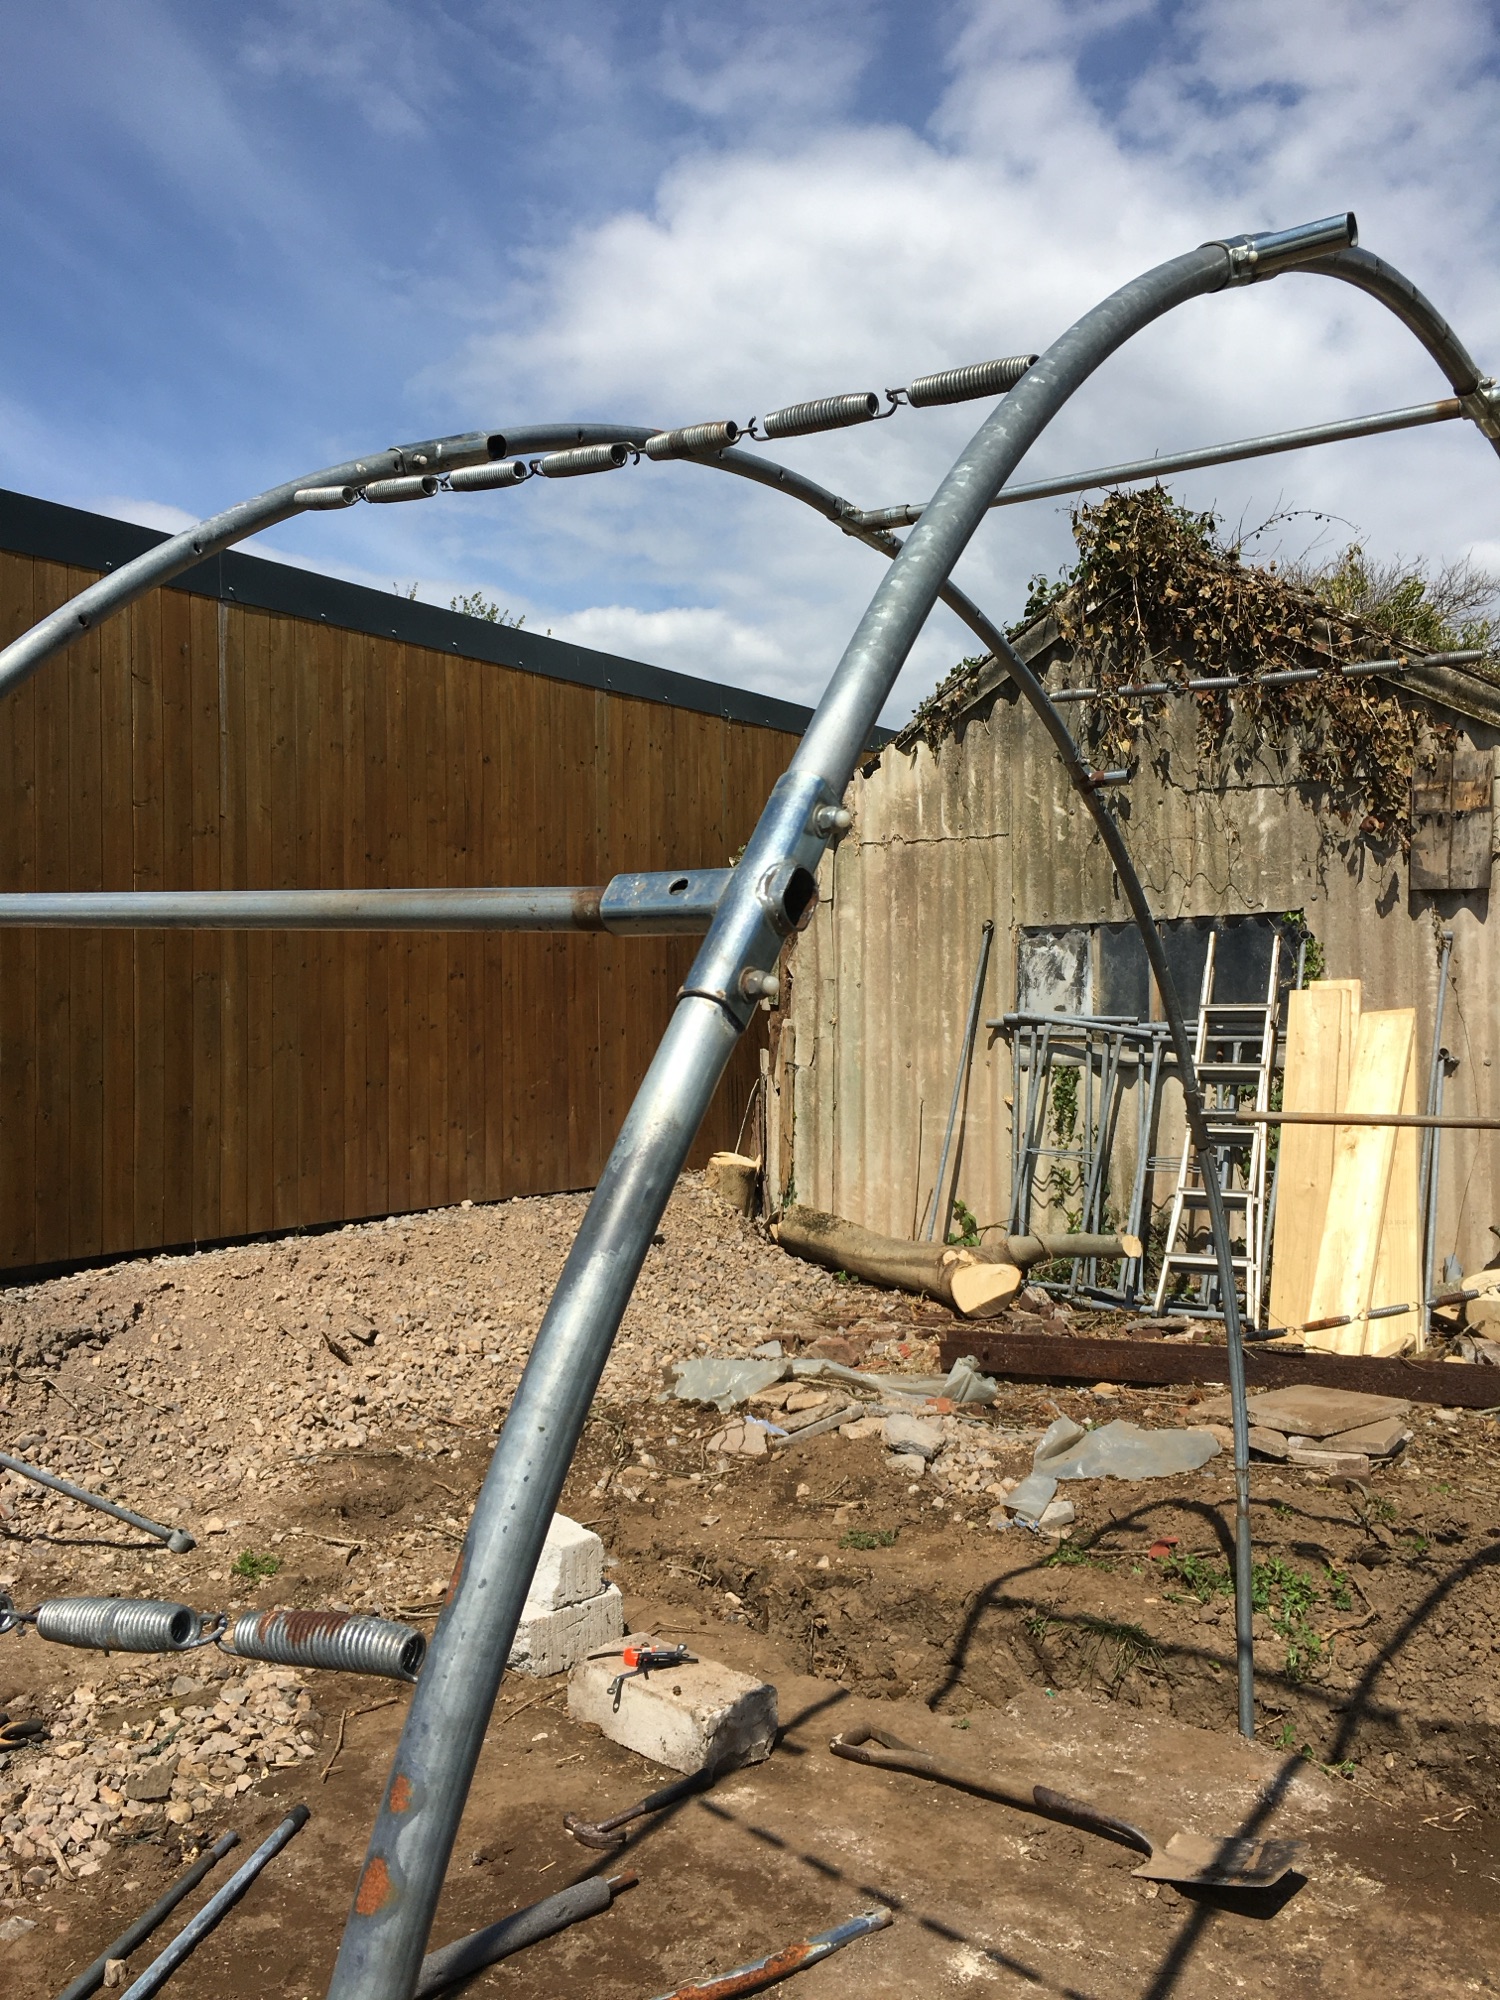
Step 2. Set out the ‘hoops’. This is where some of the things I thought I wouldn’t need came in handy.
- ‘L’ shaped legs from the supports were pushed into the ‘inside’ wall of the trench. Helpful as temporary anchors while building.
- The connector pipes used for safety nets helped join the hoops.
- The springs (to my surprise) helped with some temporary fixes.
You can see how it’s coming together now.
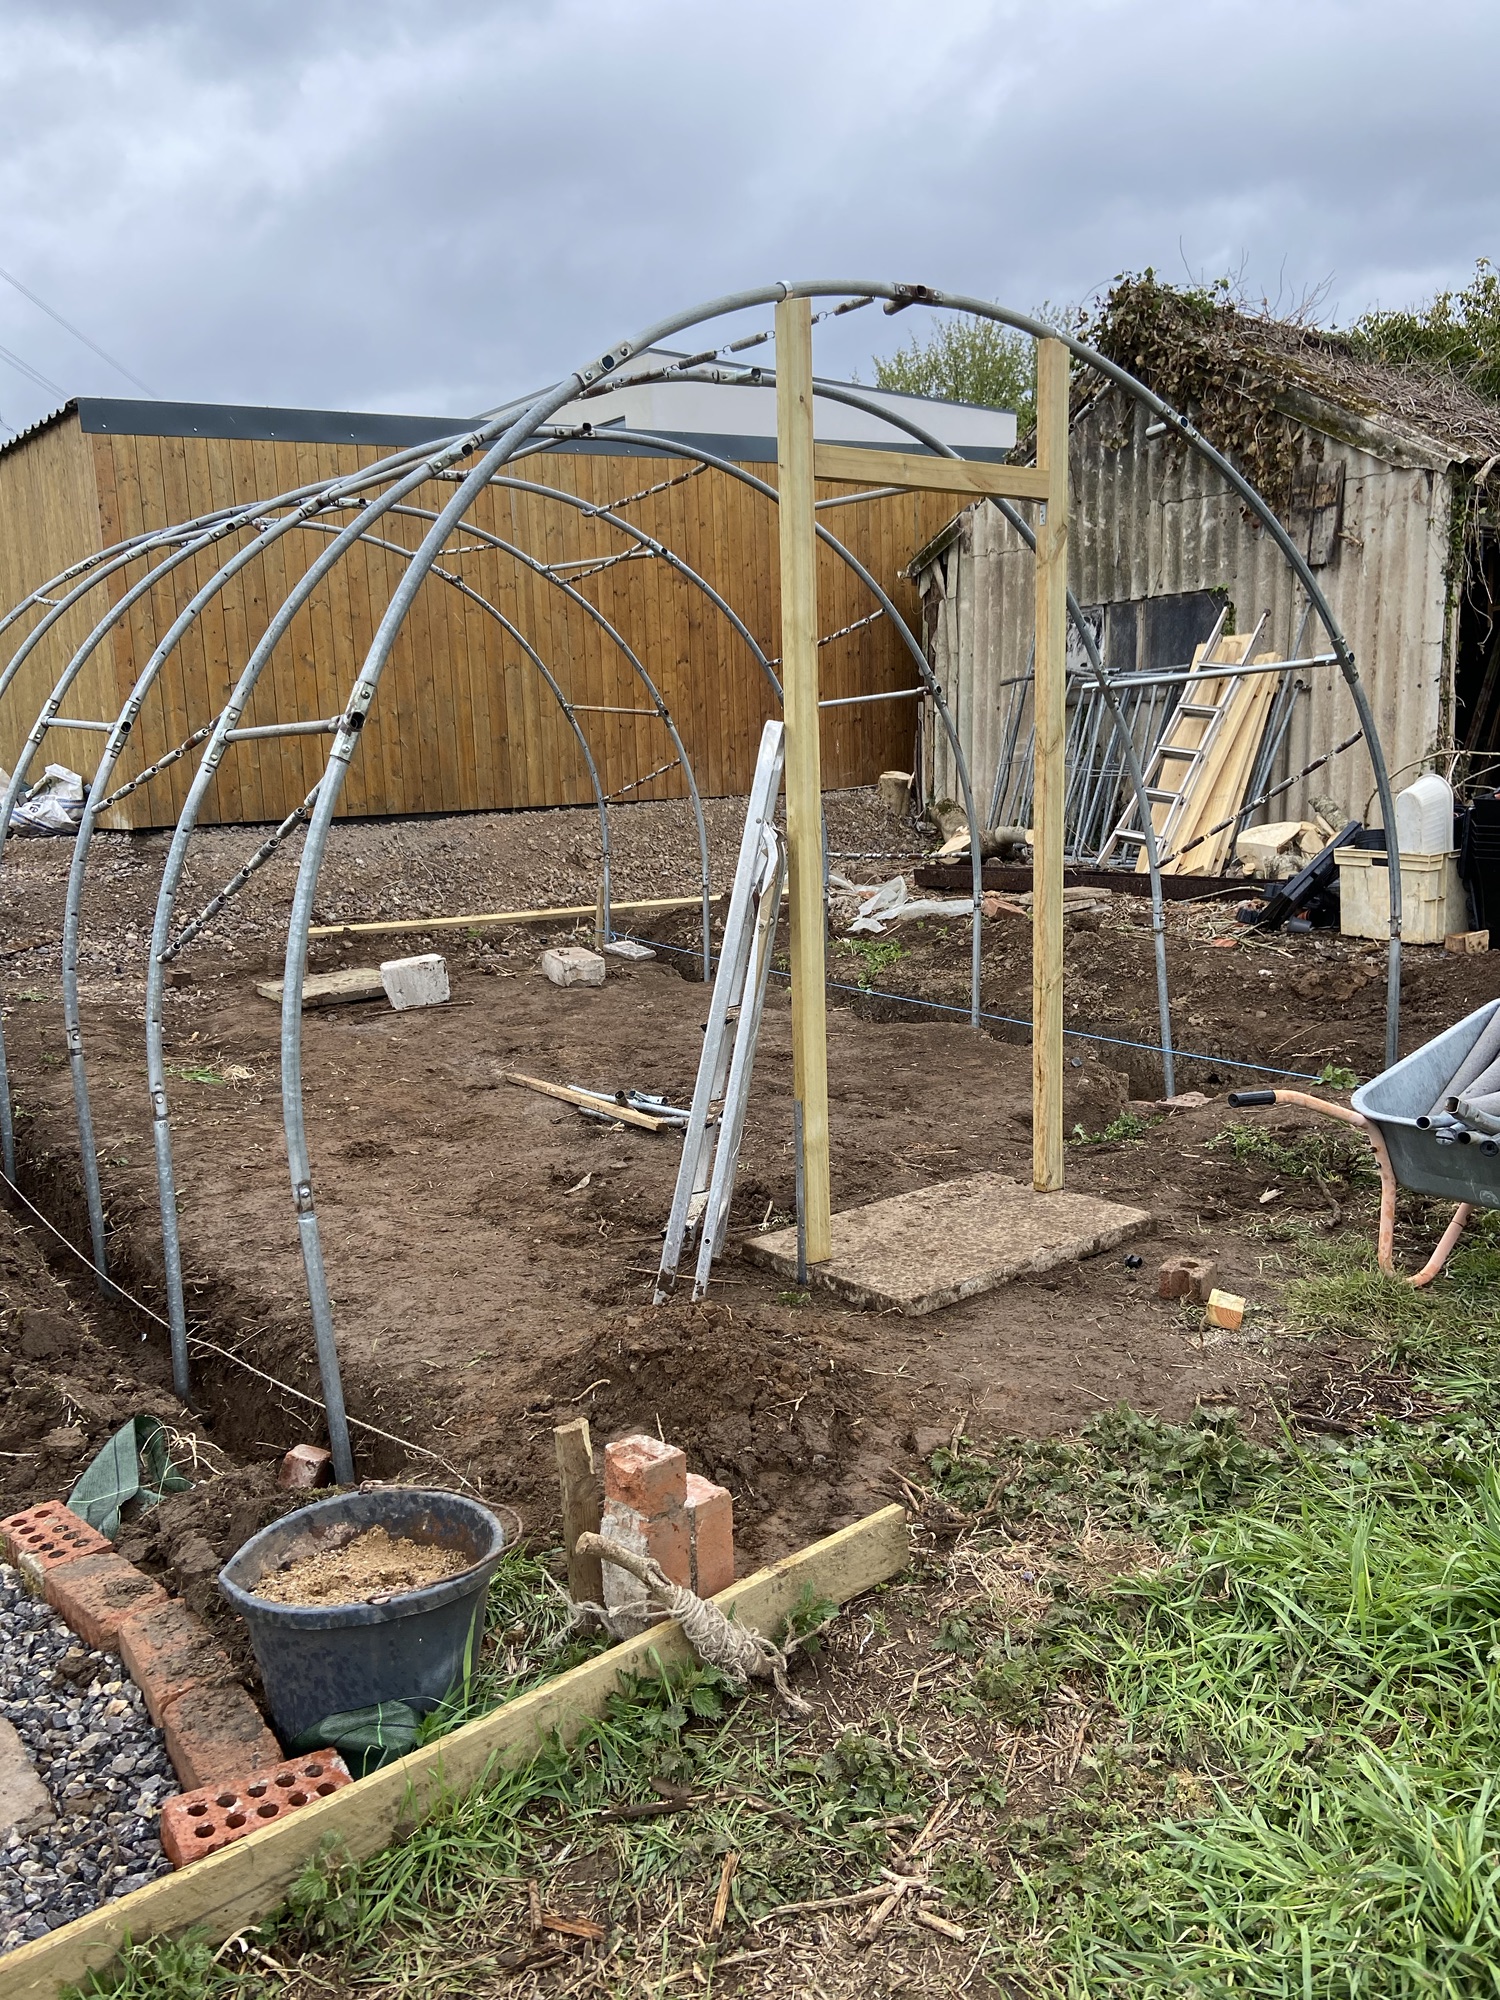
Step 3. Build ‘end frames’. Basically the ‘ends’ of the polytunnel and include any door arrangement you fancy.
Top Tip. At this stage I went around the structure with 20mm self tapping screws to fix everything together. Make sure the screw heads all face ‘inside’ the tunnel. You don’t want anything ripping the polythene.
I’ve been told that the screws is ‘overkill’ as the polythene wrapping will hold everything together. But it doesn’t half feel good having the power to join two pieces of metal together (even if it is with a self tapping screw).
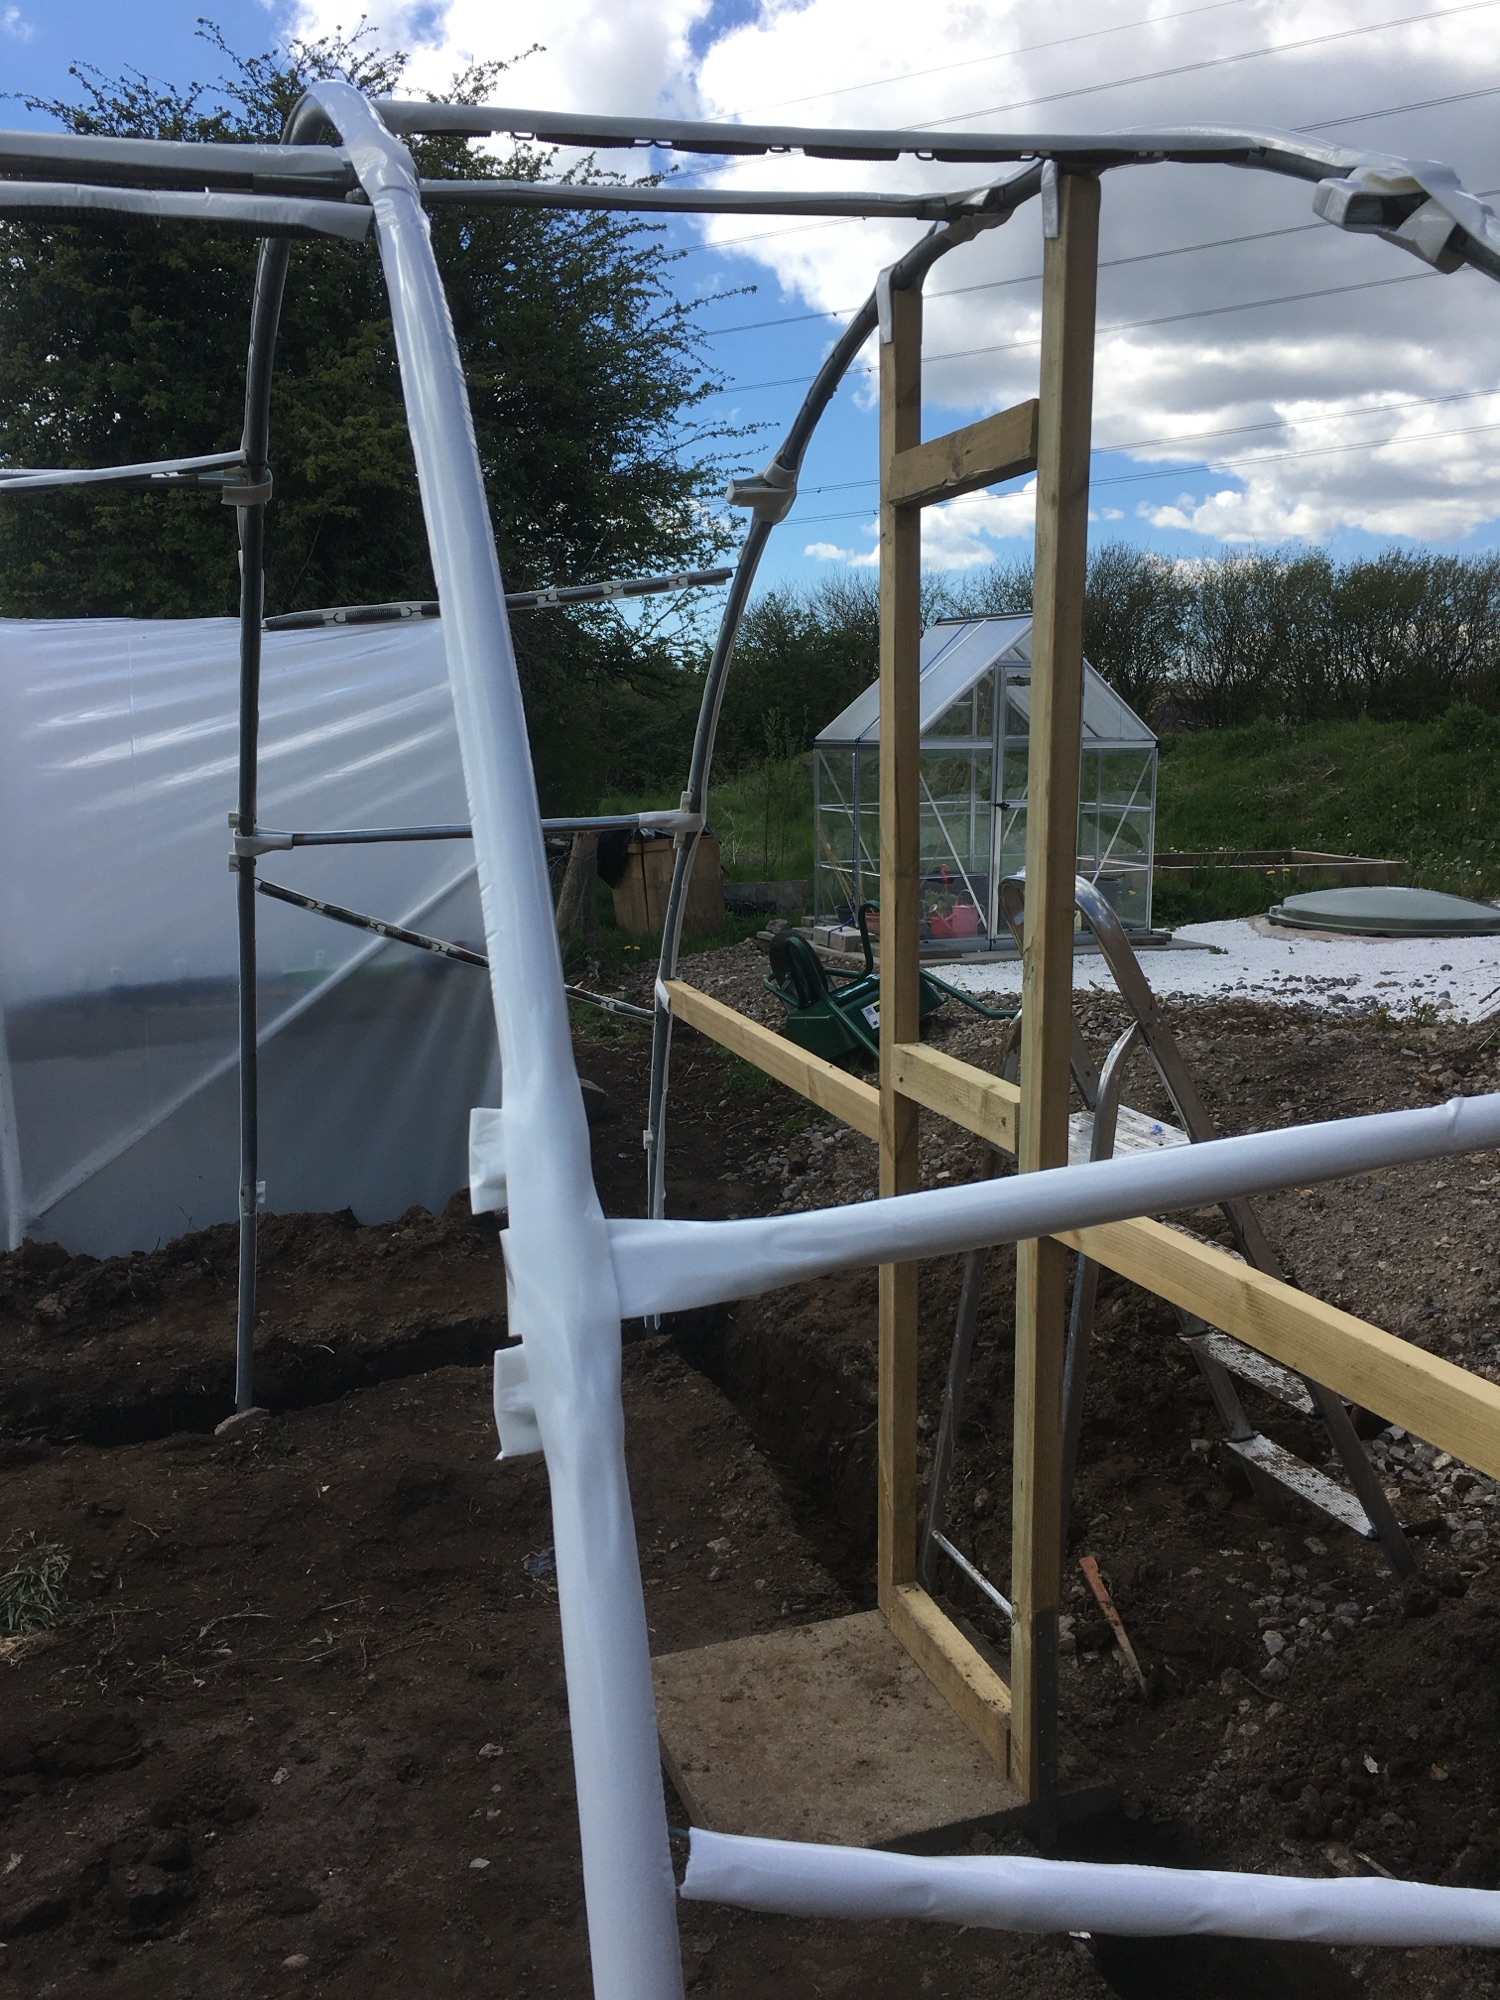
Step 4. Wrap the hoops. This is with something called heat resistant tape. It stops the metal pipes damaging the polyethene on hot, sunny days.
It also seemed to help the polythene ‘slide’ across the hoops when it was being fitted.
Step 5. Fit the polythene. This can be tricky, so stay calm.
Top Tips. There was an ‘inside’ and an ‘outside’ to the polythene we used. Make sure you get that bit right.
And it probably goes without saying, but try and do this on a calm, windless day. The more the wind, the less calm the process (and individuals involved).
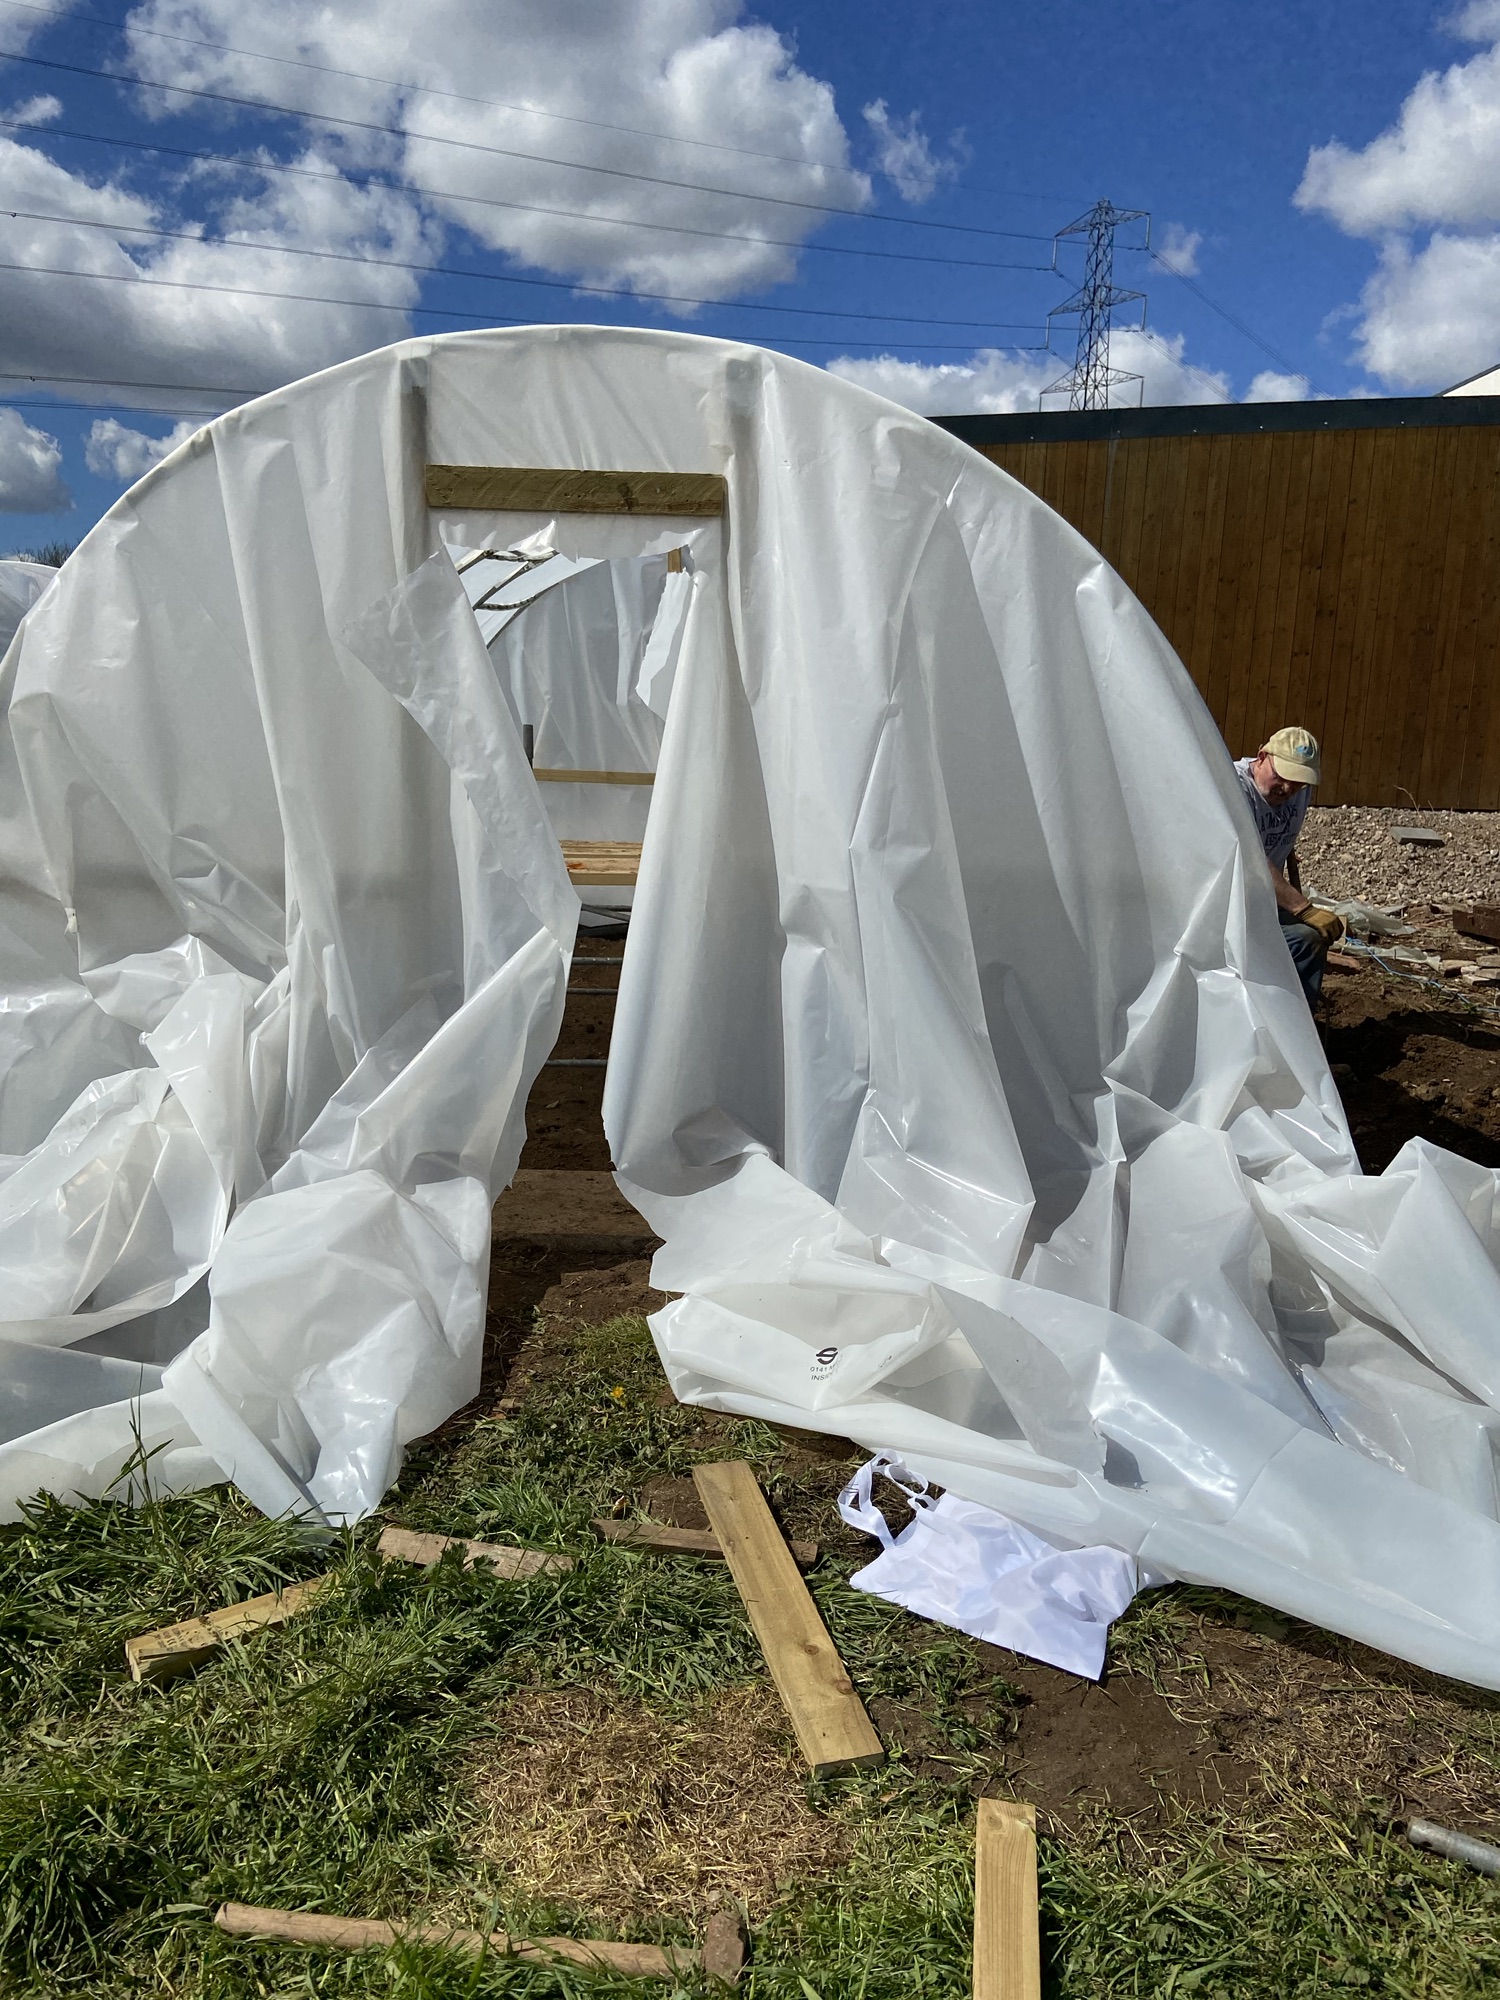
Step 5. Fixing the polythene. This is more art than science. A combination of running around tucking the polythene into the trenches and quickly backfilling them with soil – before the wind picks up.
The end frames are also handy at this point to temporarily fix the polythene while you coax it into a reasonably taught shape.
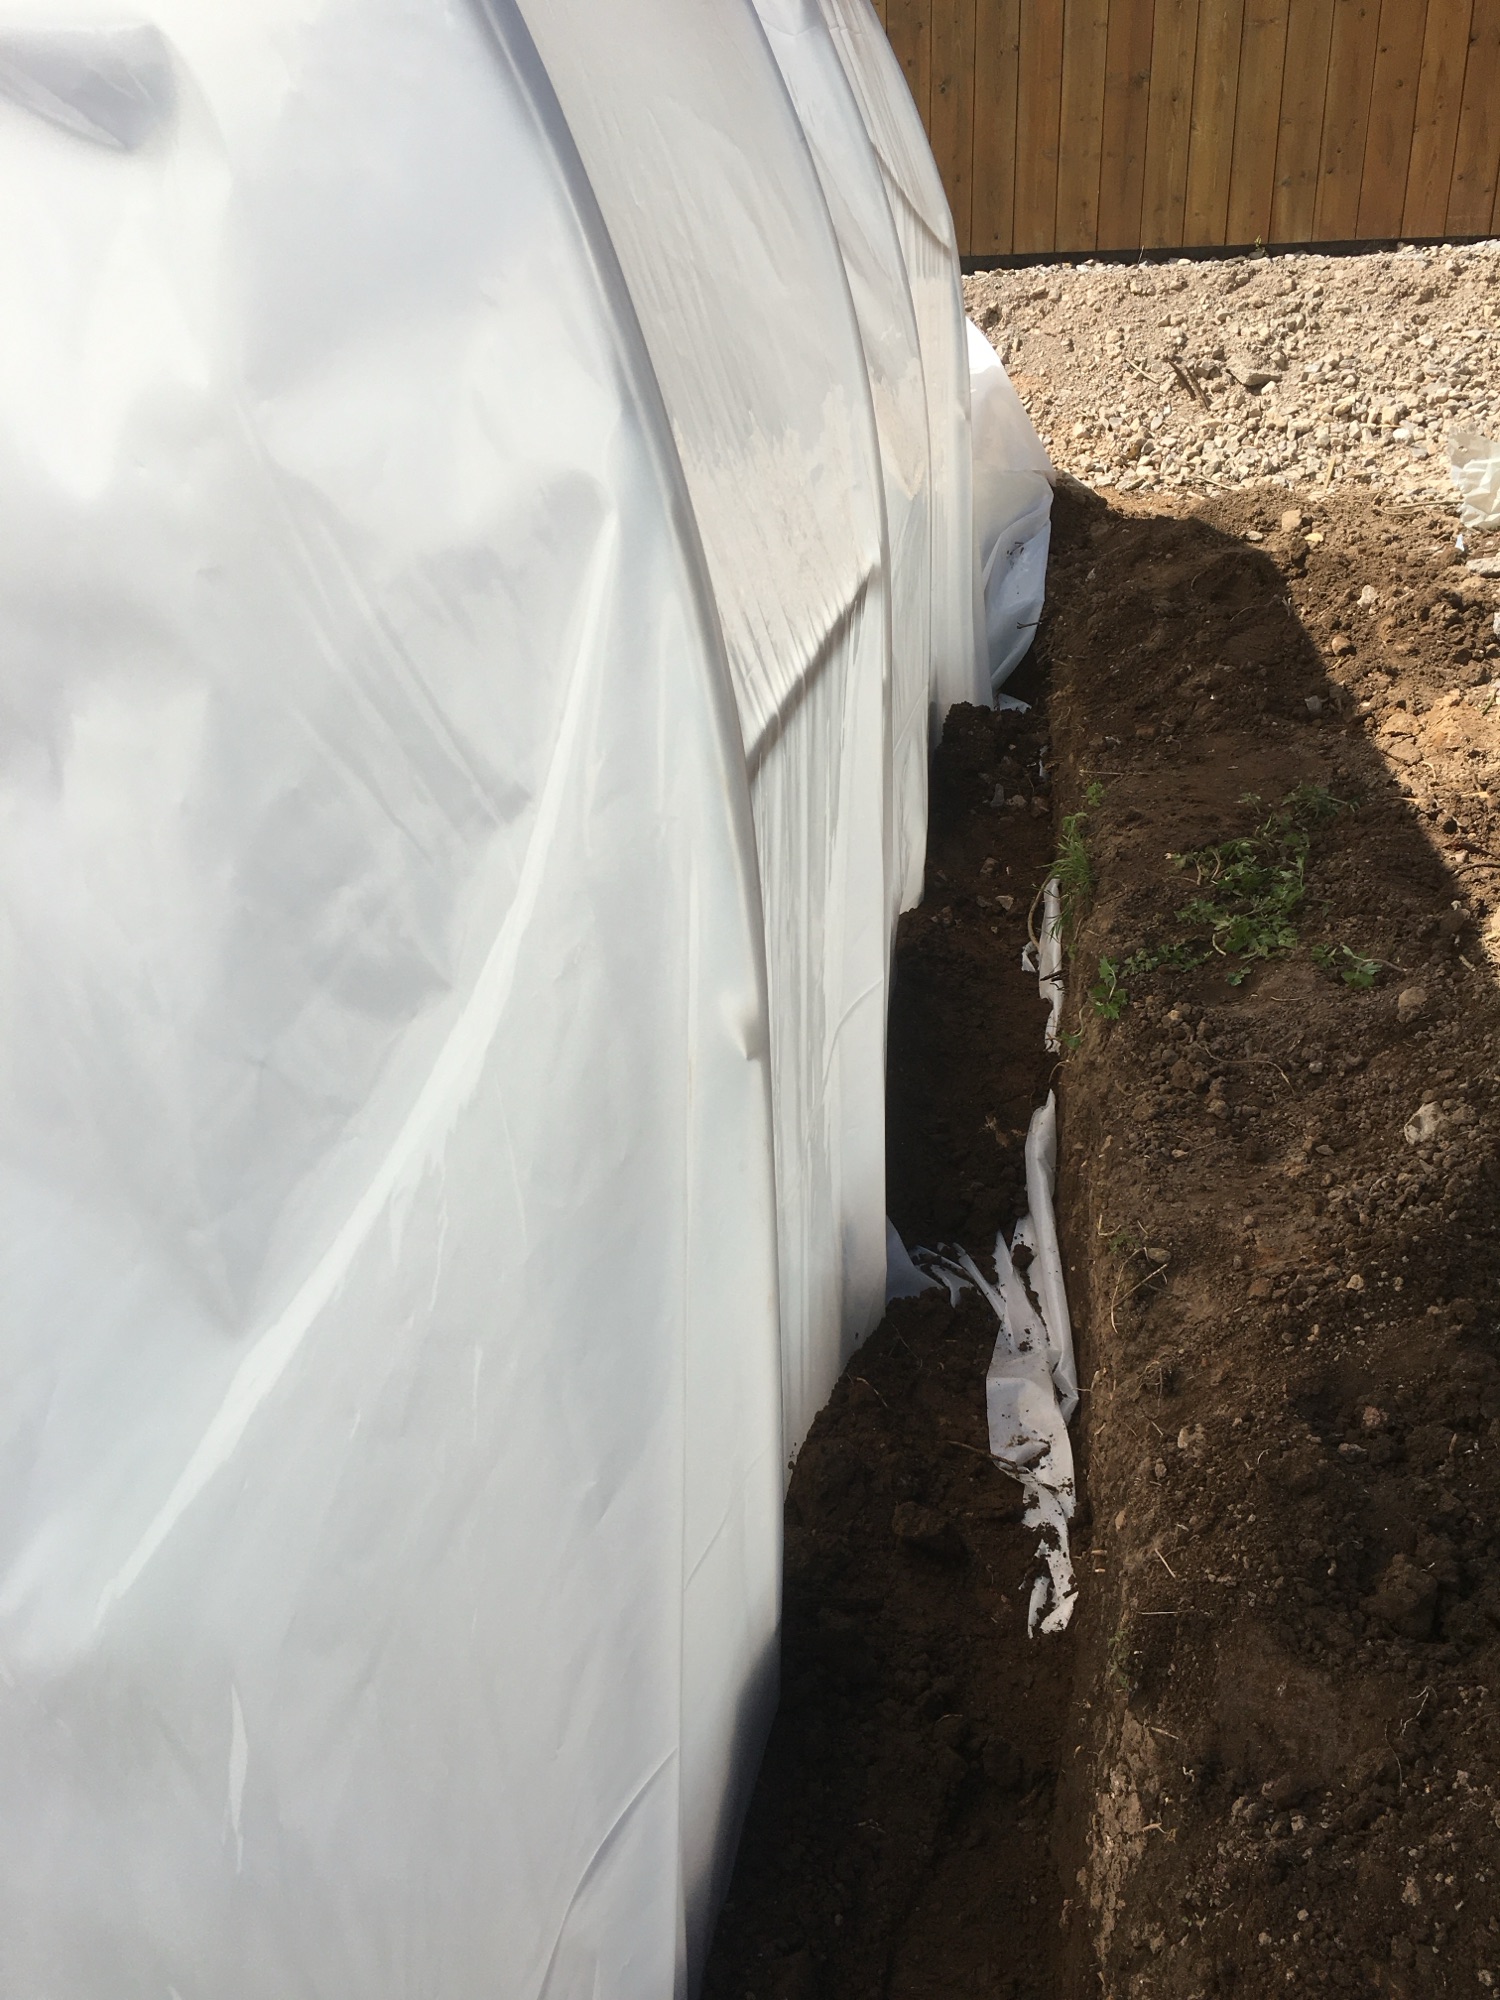
Step 6. Backfill the trenches. It feels like things are coming together at this point.
Top Tip. Look out for broken pottery and other sharp things in the soil. You don’t want anything ripping your lovely taught polythene.
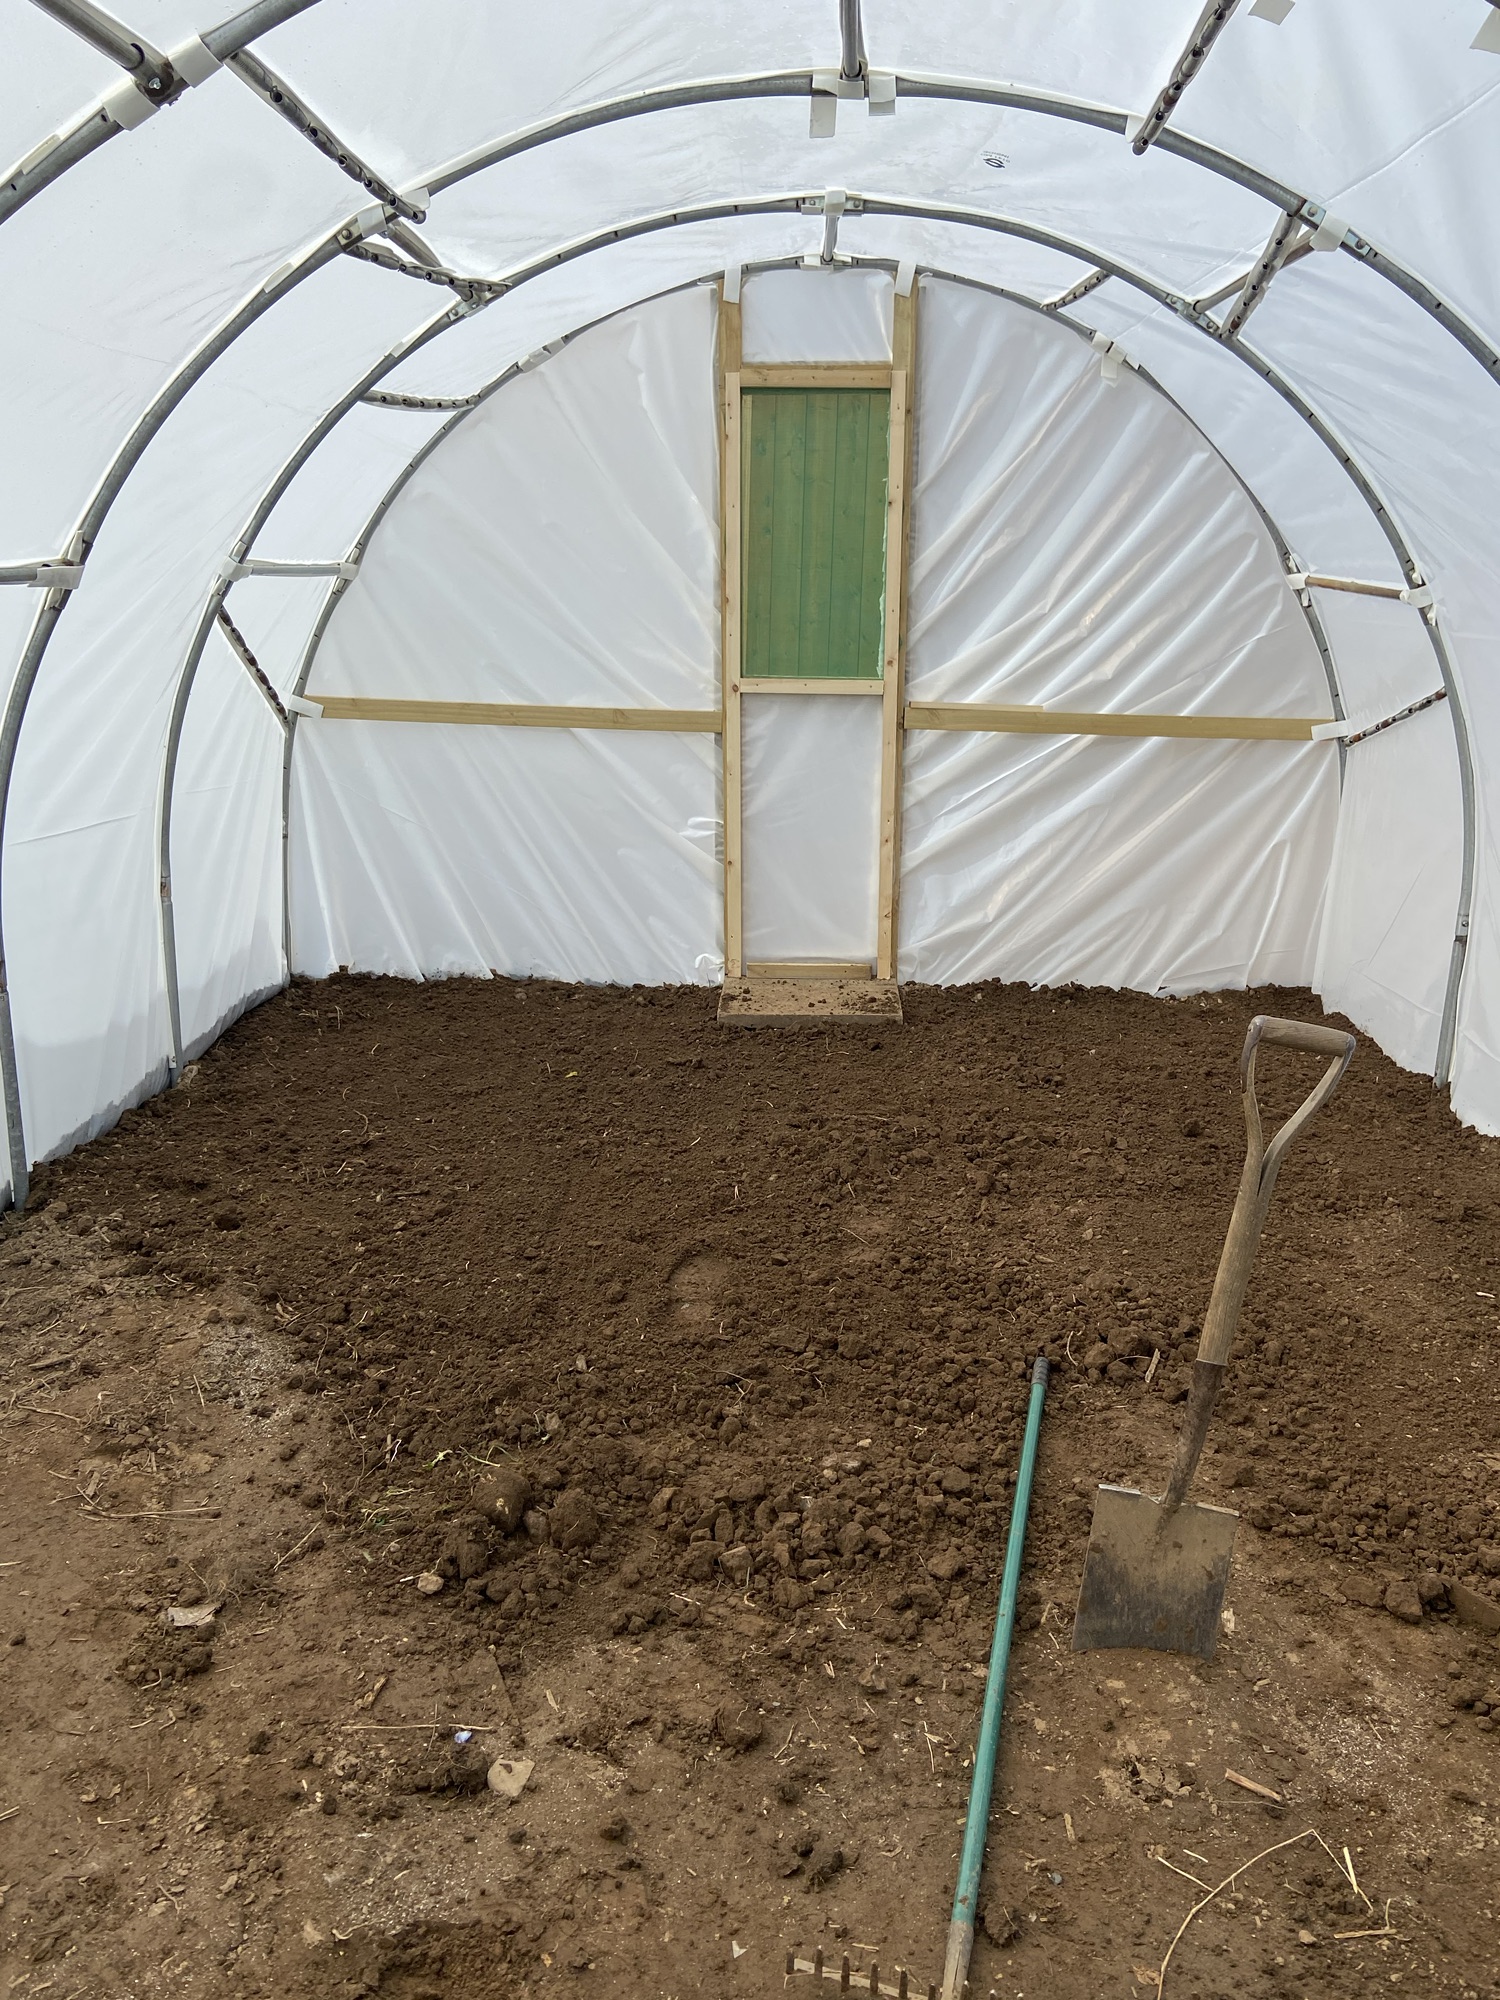
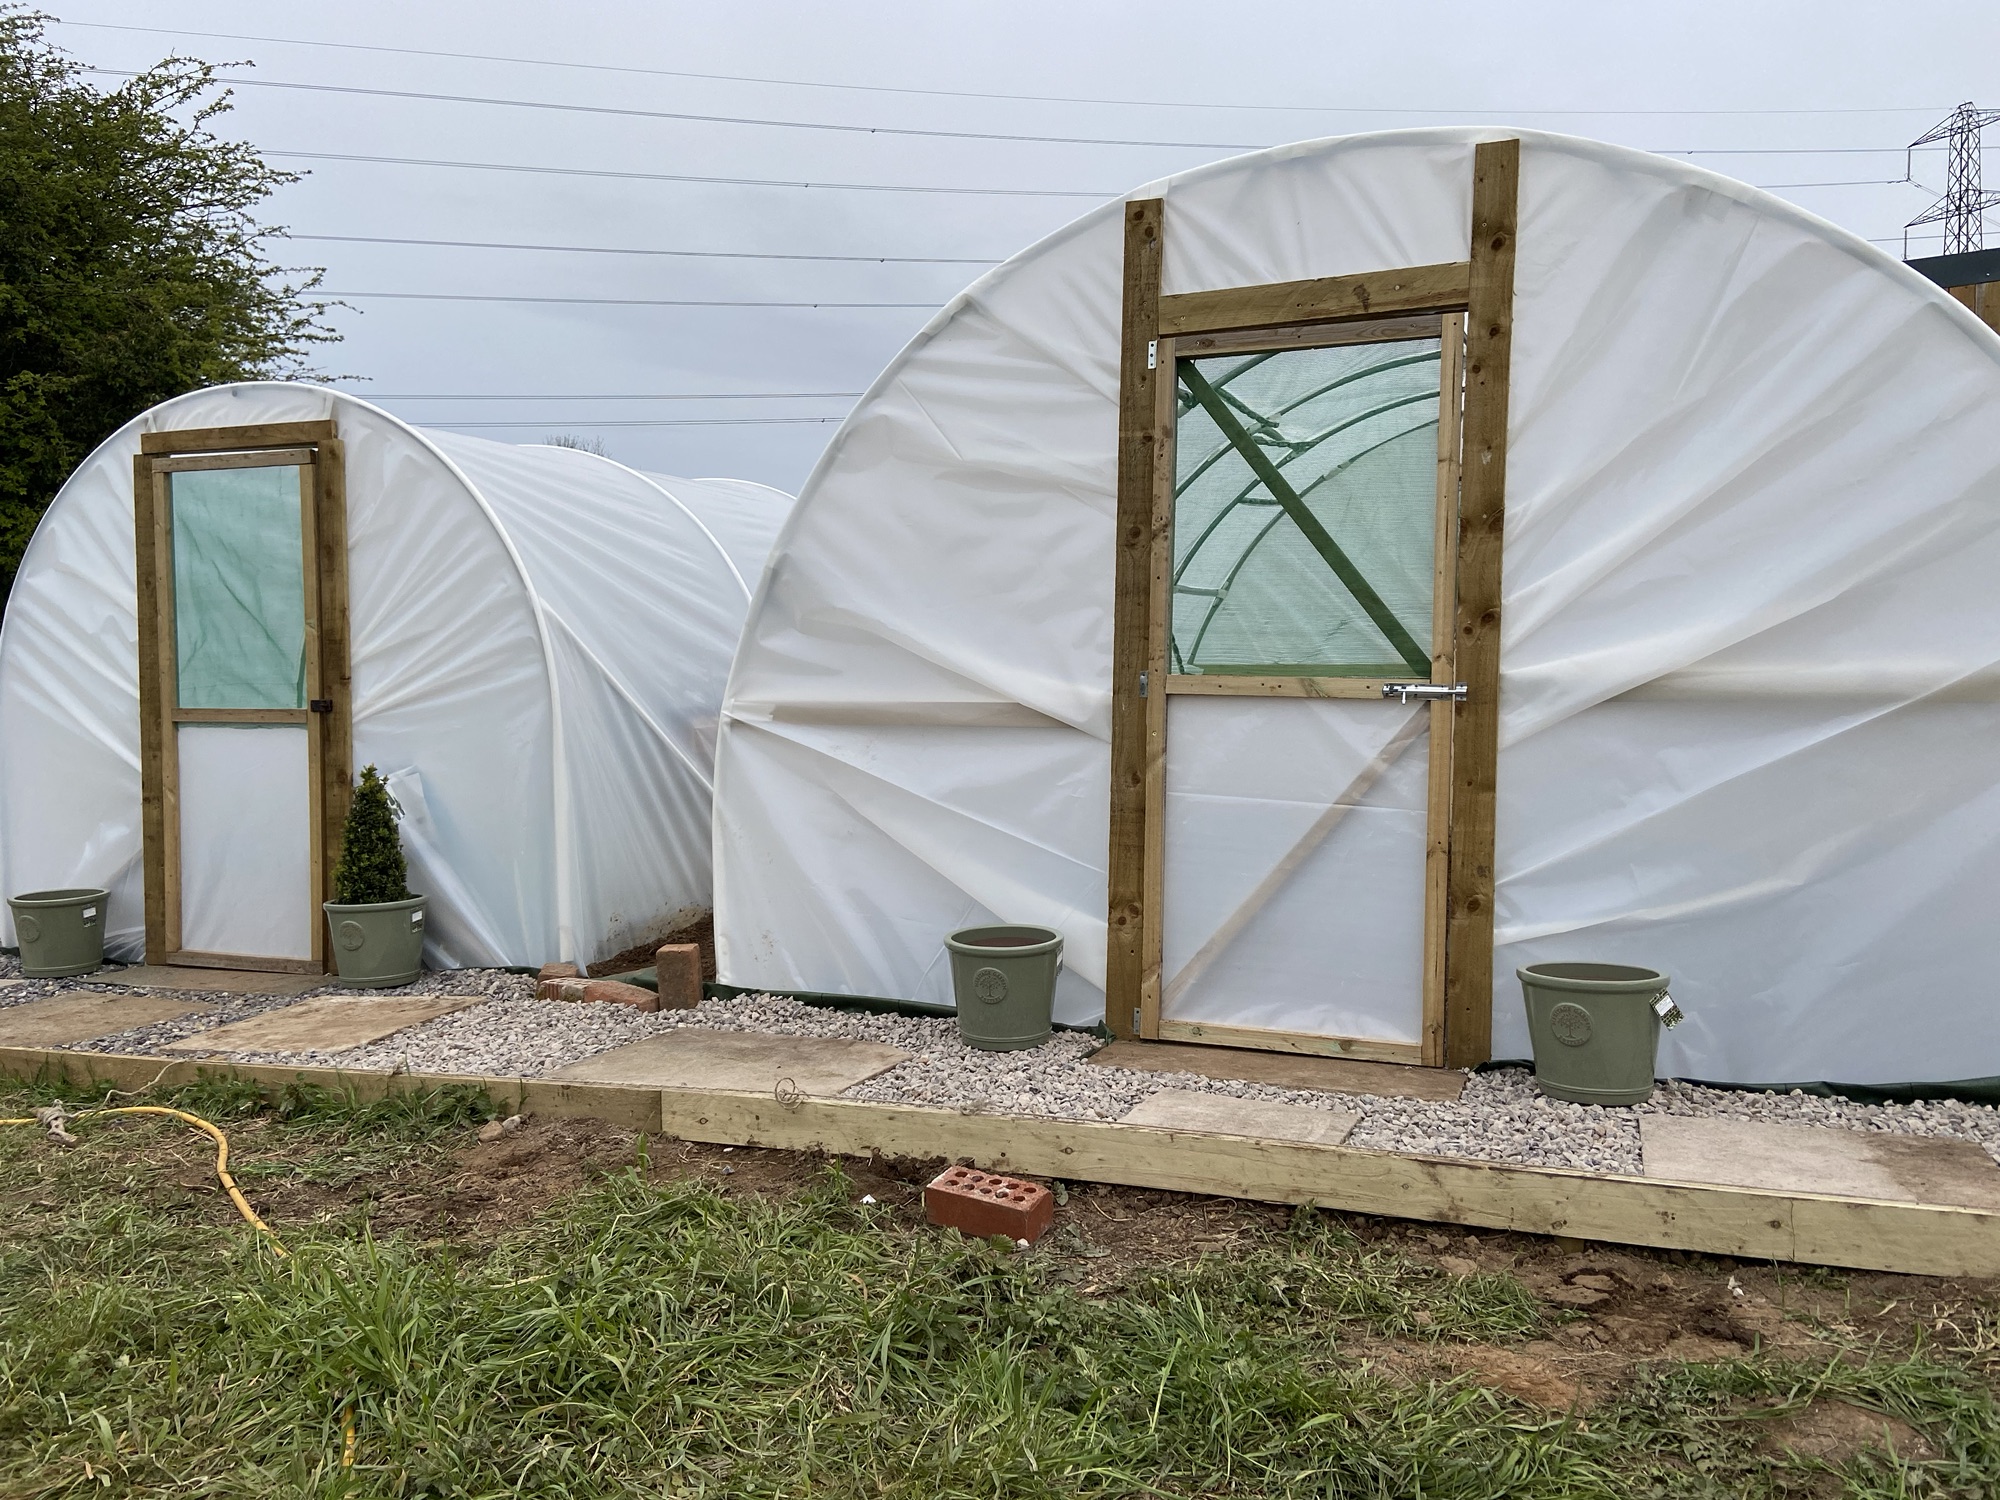
Step 7. Tidy up the end panels. This will depend on what you want. Some people will want wide doors and lots of ventilation. In retrospect, I wish I’d built a wider door at the back to let in more air.
You can also do whatever you fancy on the inside now. In the dry.
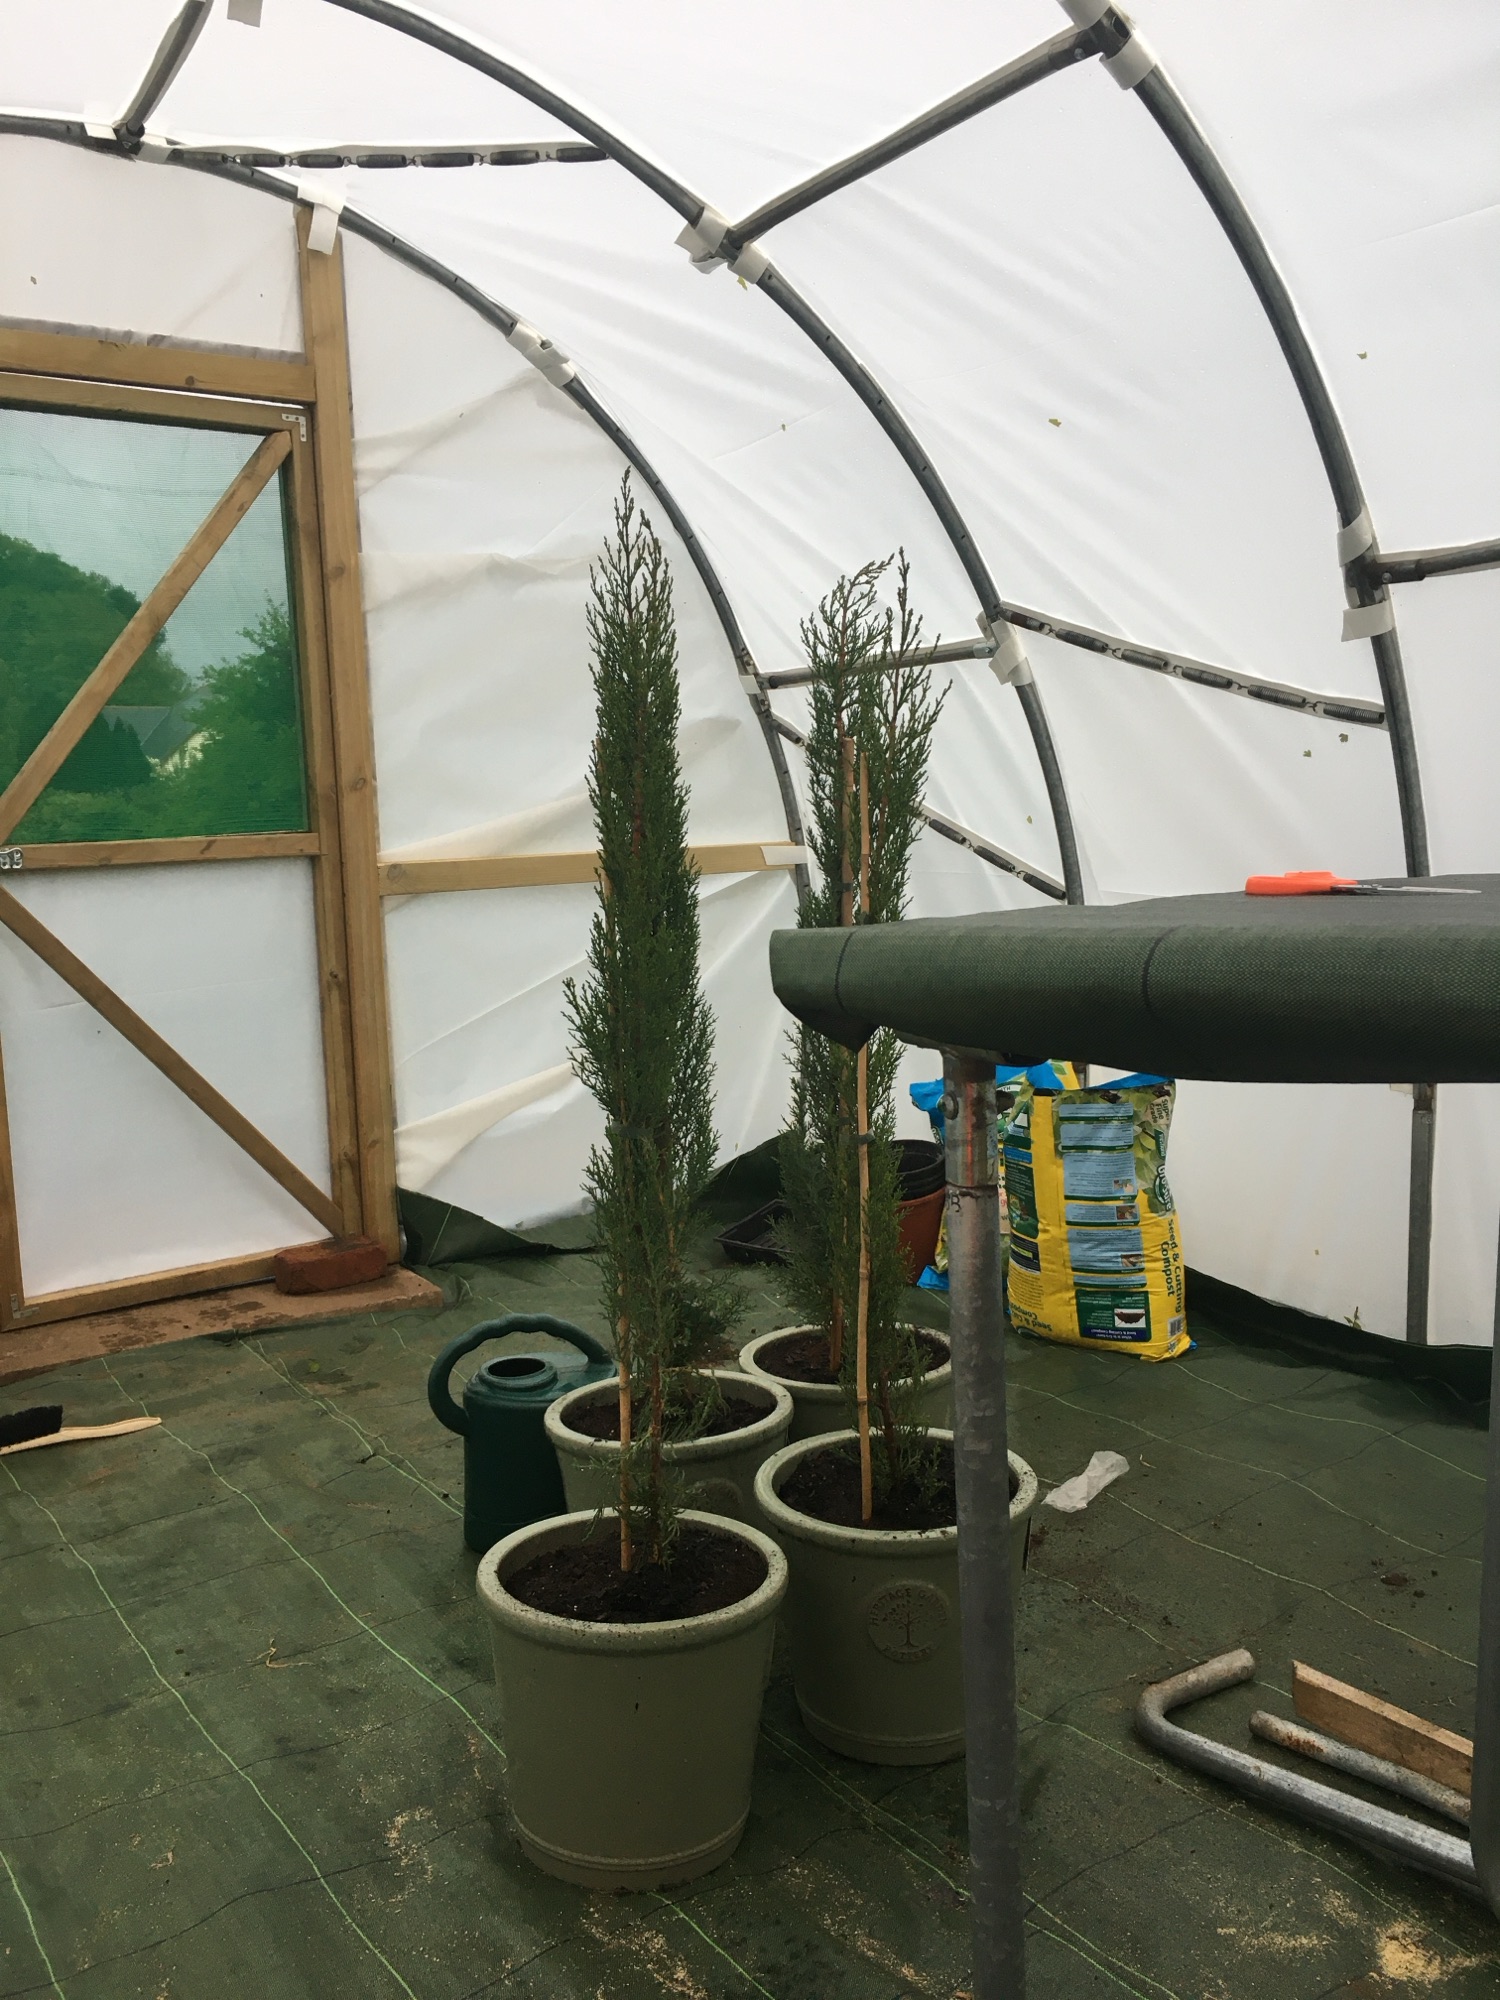
Step 8. Use you polytunnel. For whatever you fancy.
Postscript. The polytunnel has been standing for 3 years. It’s survived some significant storms and is doing the job I wanted it for.

Leave a comment